If you have an iPhone, the cleanest way to control smart home devices is already on the phone: Apple’s Home app. Start there, not in a folder full of separate bulb, plug, camera, and lock apps. The basic path is simple: use an iPhone with the Home app, buy accessories that say they work with Apple Home or Matter, then add a HomePod mini or Apple TV if you want the setup to work when you are away from home or to run automations reliably.
That last part is the one worth slowing down for. Your iPhone can control compatible accessories locally when it is on the same Wi-Fi network or close enough for Bluetooth. But the phone by itself is not the always-on brain of the home. Remote access and automations require a supported Home Hub, which means a HomePod or Apple TV in 2026, not an iPad.[2][3]
What you need before you add the first device
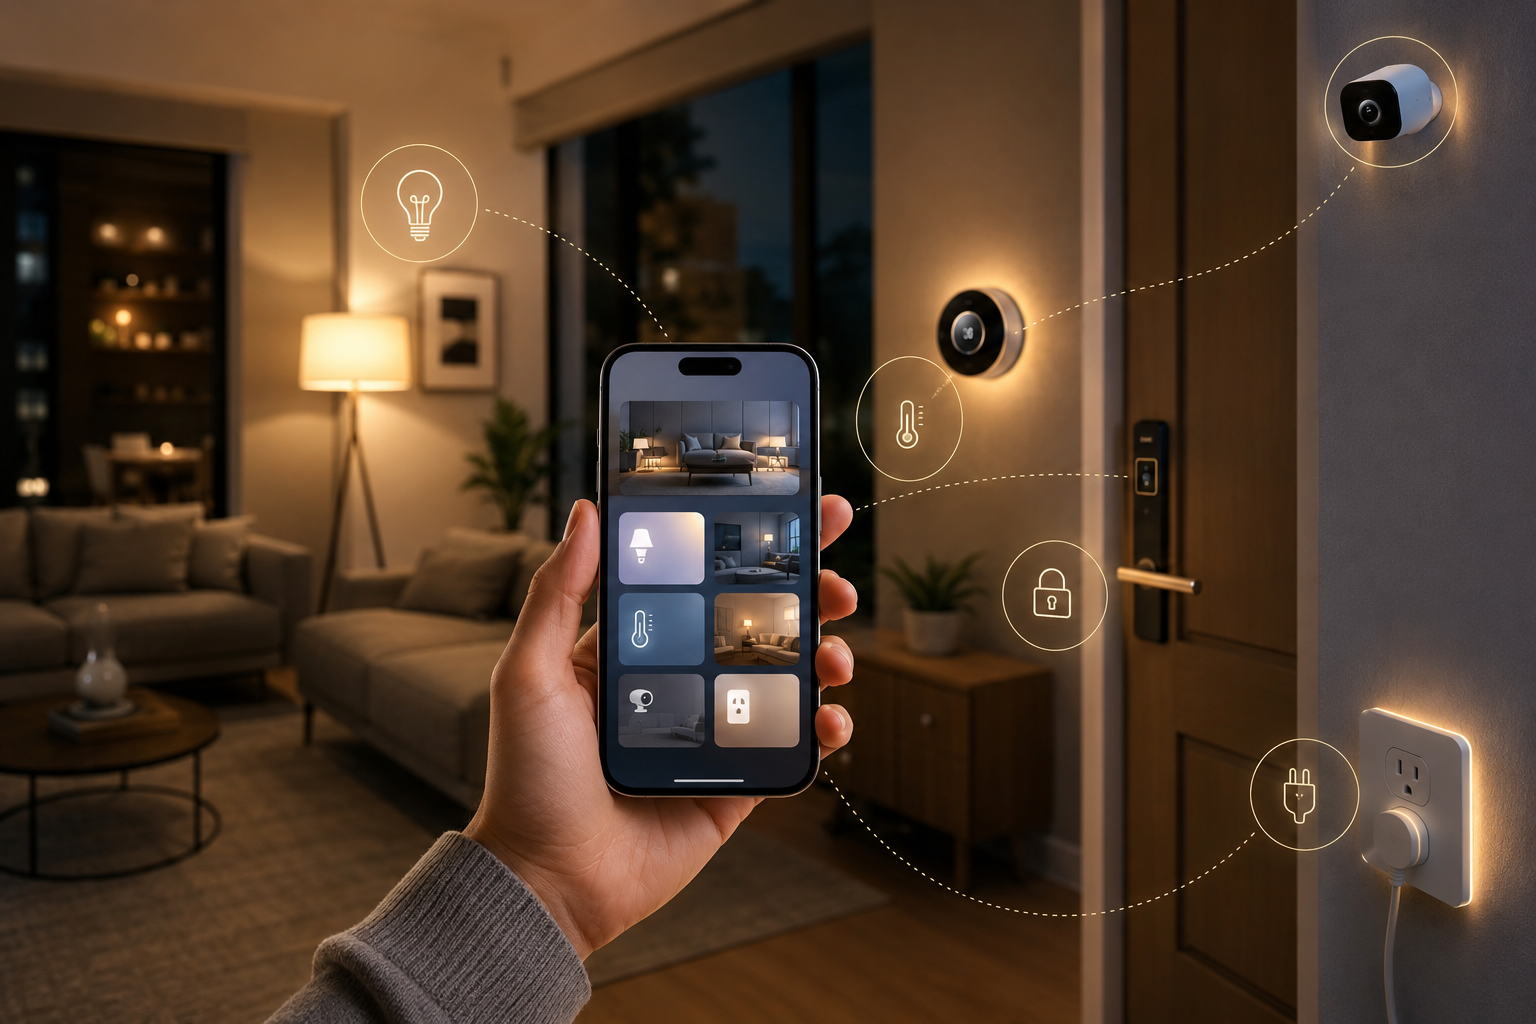
Before opening a box or peeling off a pairing sticker, check three things. This saves the most common beginner mistake: buying a device that works beautifully in its own app but never appears where you actually want it, inside Apple Home.
- An iPhone with the Home app: Apple’s Home app is included on iPhones running iOS 10 or later, so most users do not need to download anything extra before starting.[2]
- Compatible accessories: look for “Works with Apple Home,” HomeKit certification, or Matter compatibility. SafeWise describes the Apple Home ecosystem as covering over 50 brands and thousands of devices as of 2026.[2]
- A Home Hub if you want more than local control: a HomePod mini, HomePod, or Apple TV keeps the home reachable when your iPhone is not there and enables automations.[2][3]
Matter deserves a plain translation here. A Matter device may be able to work across Apple Home, Google Home, and Alexa, depending on the device and setup path. For this guide, the important part is not the protocol diagram; it is whether you can add the device through the Home app and then control it from your iPhone. If you want the deeper architecture version, see Apple Home and Matter 2026: Hardware, Setup, and Gaps.
Decide on the Home Hub before you blame the accessory
A Home Hub is the small piece of hardware that stays home when your iPhone leaves. It listens for Home app requests, keeps automations available, and bridges remote commands back to your accessories. Without it, the experience can still feel smart while you are on the couch, then suddenly feel incomplete when you try to unlock the door, check a sensor, or run a scheduled scene from somewhere else.
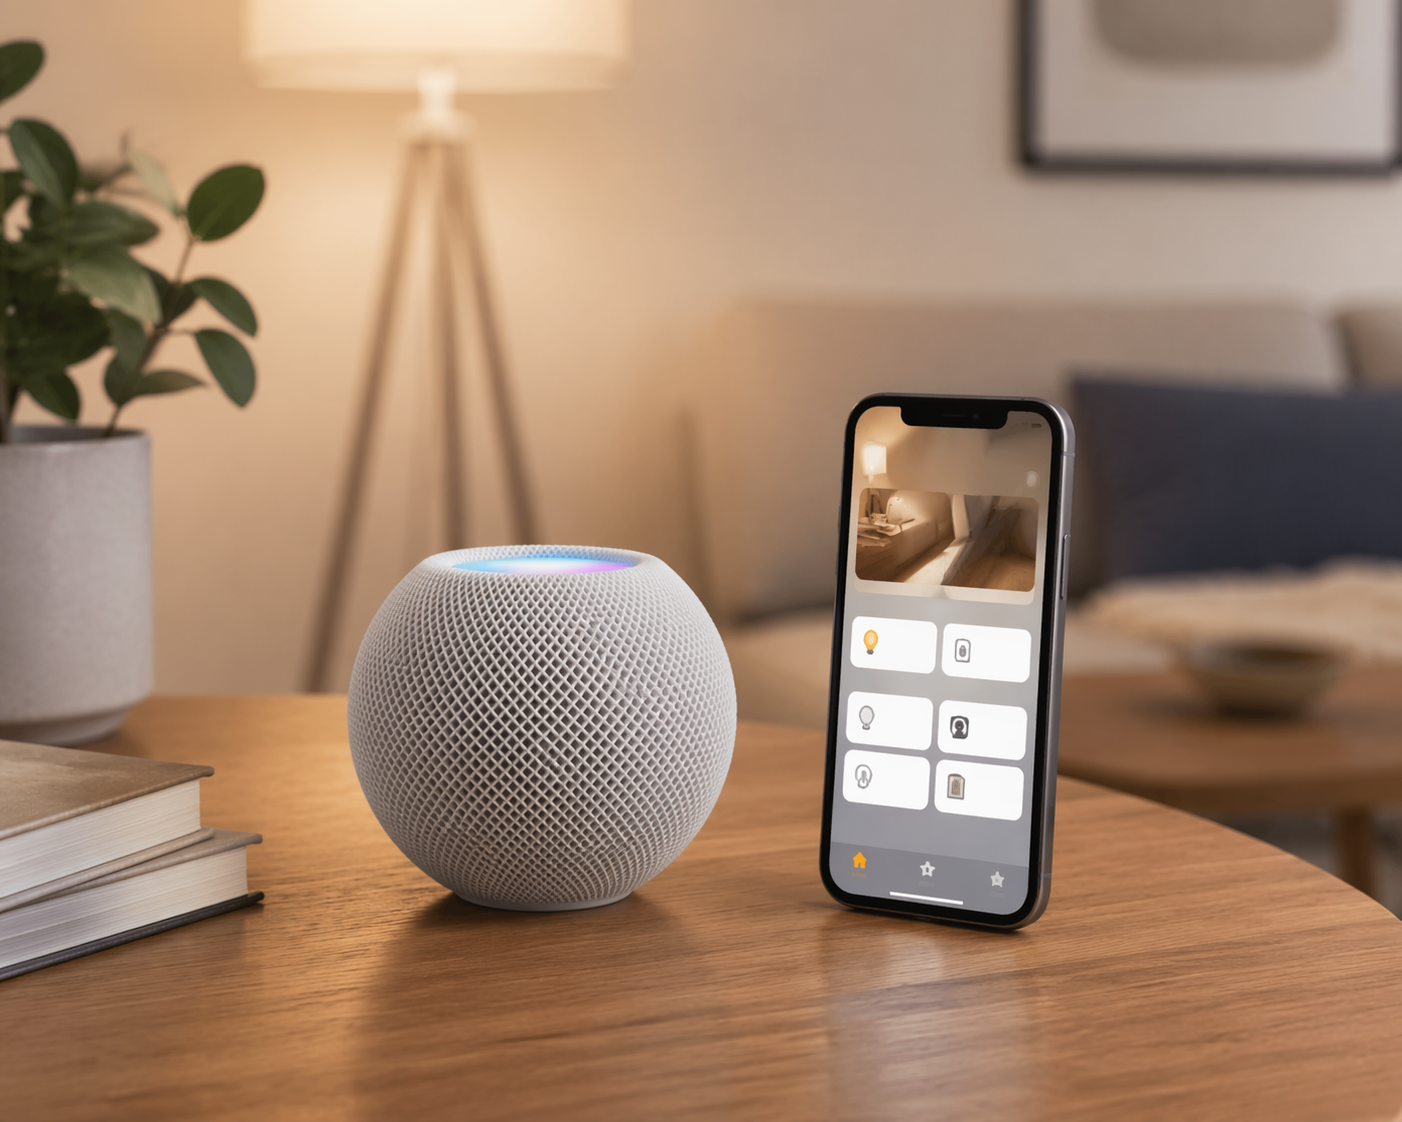
For many iPhone households, the HomePod mini is the simplest hub choice because it costs $99, works as an Apple Home Hub, and also serves as a Thread Border Router for Thread-based accessories.[3] The Apple TV 4K is the better choice if you also want a streaming box in the room. Apple TV 4K hub models are not identical, though: the third-generation Wi-Fi + Ethernet model at $149 adds Thread support, while the $129 Wi-Fi-only model does not.[3][4]
| If you want | Buy or use | Watch for |
|---|---|---|
| The lowest-cost Apple Home Hub | HomePod mini | $99 price and Thread Border Router support |
| A hub that also handles TV streaming | Apple TV 4K | Thread support depends on the model |
| To reuse an old iPad as the hub | Do not plan around it | iPads no longer count as supported Home Hubs in 2026 |
The iPad detail matters because older advice still circulates. As of 2026, iPads should not be treated as the hub purchase or backup plan for a new Apple Home setup.[2][3] If you are choosing between the two real hub paths, a dedicated comparison such as HomePod Mini vs Apple TV 4K is worth reading before you buy.
Add a smart home device in the Home app
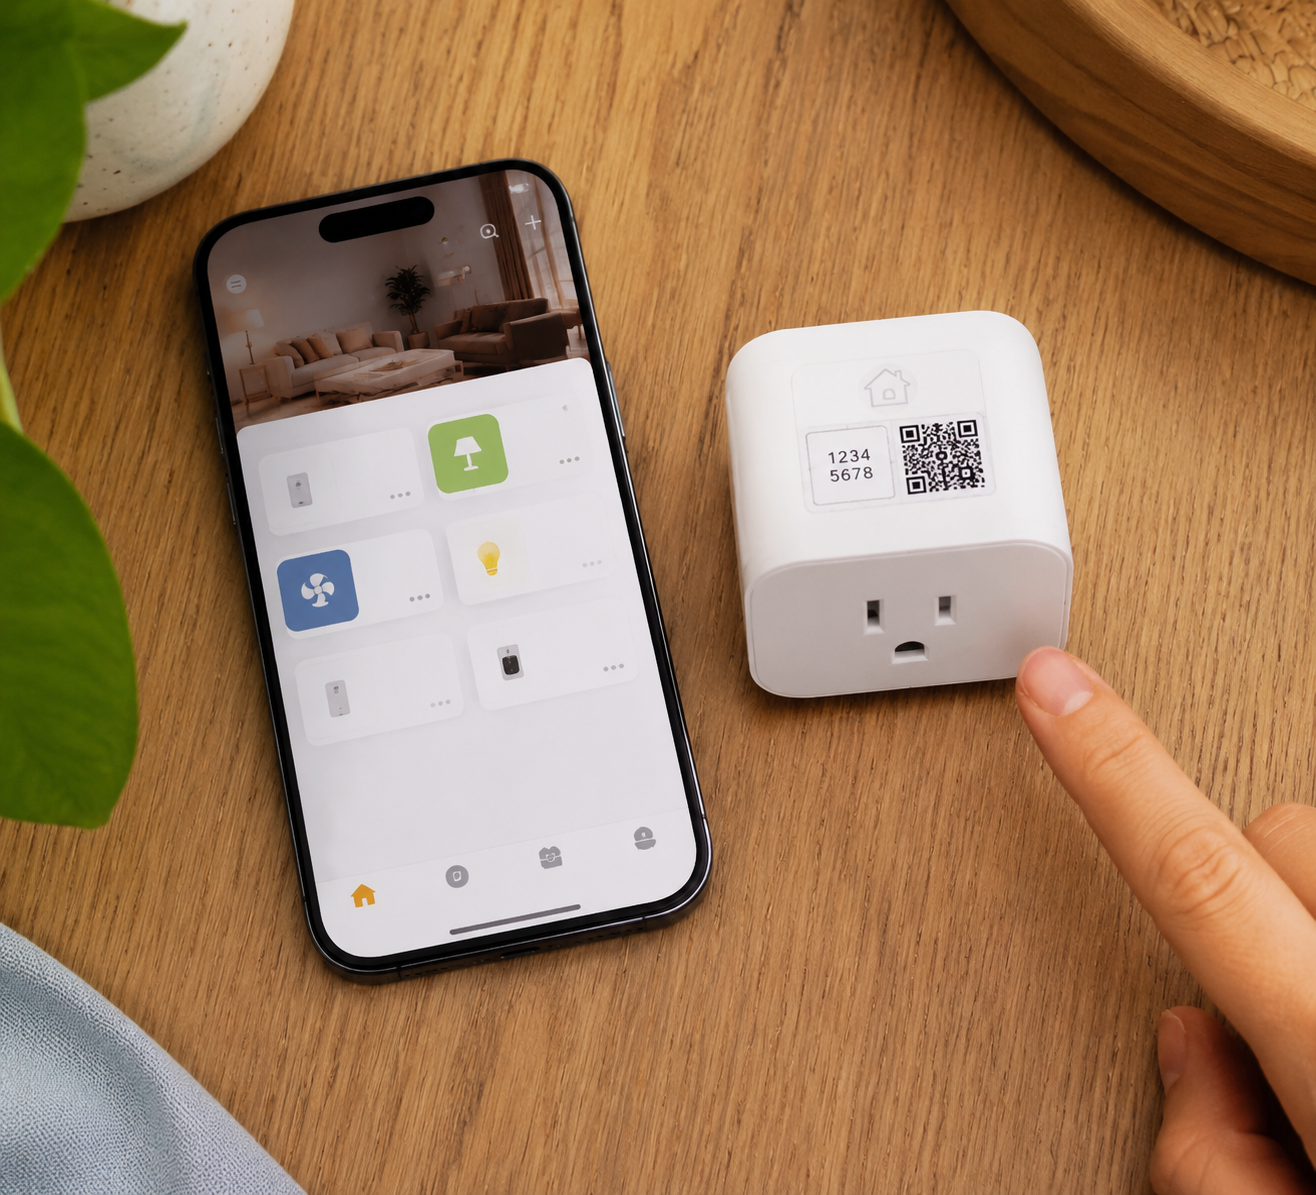
Once the device is compatible and your hub decision is settled, pairing is usually the easiest part. Apple’s official process starts in the Home app: tap the plus button, choose to add an accessory, then use the iPhone camera to scan the HomeKit setup code or QR code that came with the device.[1]
- Open the Home app on your iPhone.
- Tap the plus button.
- Choose Add Accessory.
- Scan the 8-digit HomeKit code or QR code with the iPhone camera.
- Name the accessory in plain language, such as “Hallway Lamp” or “Front Door Lock.”
- Assign it to the correct room.
- Test it from the Home app before moving on.
Do not throw away the paper insert or sticker with the code. Keep it in a drawer, take a photo, or label the device if the code is on a removable card. If the accessory ever needs to be reset or moved to a different home, that small code becomes annoyingly important.
If the Home app cannot find the accessory, the useful checks are physical before they are philosophical: make sure the device has power, reset it according to the manufacturer’s instructions, keep the iPhone nearby, and confirm that the accessory is actually HomeKit-certified or Matter-compatible rather than only “works with Siri shortcuts” in a separate app. Those labels do not mean the same thing.
Organize the Home app while the setup is still small
The first smart plug can be named almost anything and still be manageable. The tenth accessory punishes vague naming. Rooms and clear accessory names are what let the iPhone become a real control surface instead of a nicer-looking version of the same old app clutter.
Use room names that match how people actually speak in the home: Kitchen, Bedroom, Hallway, Office, Porch. Then name devices by location and object: “Kitchen Pendant,” “Bedroom Fan,” “Porch Camera,” “Hallway Motion Sensor.” This makes Siri less fussy, makes scenes easier to build later, and makes it obvious which tile you are tapping in the Home app.
Favorites are worth setting early. Put the accessories you touch every day on the Home tab: the front lock, the main lights, the thermostat, the garage door, the camera you actually check. Leave rarely used sensors and background devices inside their rooms. A tidy Home tab is the difference between opening the app for one quick tap and scrolling around while someone waits at the door.
Control devices from the iPhone
After pairing, the iPhone gives you several control surfaces. The Home app is the main one, but it should not be the only one you rely on. Apple Home can also surface controls through Siri, Control Center, and Lock Screen access, depending on how you organize favorites and widgets.[5][6]
| Control method | Best for | Example |
|---|---|---|
| Home app | Full control and setup | Open the Living Room and dim the floor lamp |
| Siri | Hands-free commands | “Turn off the kitchen lights” |
| Control Center | Fast access without digging through apps | Tap a favorite light or lock |
| Lock Screen widgets | Glanceable controls for frequent actions | Check or trigger a favorite home control |
The Home app is where you adjust details: brightness, color, thermostat targets, camera views, lock status, and room assignments. Siri is better for obvious commands when names are clean. “Turn off the bedroom lamp” works better than asking for “the second plug,” especially once other people in the home start using it too.
Control Center and Lock Screen access are where the iPhone starts to feel like a household remote instead of an admin tool. Put only the accessories and scenes you expect to use repeatedly there. If every device becomes a favorite, none of them are quick anymore.
Build one scene before you build automations
Scenes are the gentlest upgrade after basic control because nothing mysterious happens in the background. A scene is just a saved group of accessory states: several lights off, one lamp dimmed, the thermostat adjusted, the door locked. Apple’s Home app supports scenes that control multiple accessories together.[7]
A good first scene is something you can verify with your eyes. “Good Night” might turn off downstairs lights, lock the front door, and set the thermostat. “Movie” might dim the living room lamps and turn off a bright overhead fixture. Start with one scene that replaces a routine you already perform by hand.
- Name the scene the way you want to say it to Siri.
- Include only devices that should always change together.
- Test the scene while standing near the devices.
- Add it to favorites only if you will use it often.
The restraint matters. A scene that touches every light, lock, plug, and thermostat in the house is harder to trust. A small scene that does exactly what its name promises gets used.
Then add one automation
Automations are where the Home Hub earns its place. Apple’s Home app can create automations based on time, people arriving or leaving, accessory state, or sensor activity.[7] A hallway motion sensor can turn on a light. A sunset automation can switch on the porch lamp. A leaving-home automation can turn off selected lights after everyone is out.
For a first automation, choose something low-risk and visible. A lamp turning on at sunset is a better first test than a door lock rule that affects access to the home. Let the setup prove itself on lights and plugs before asking it to make decisions about locks, garage doors, or security routines.
Location-based automations need a little extra patience because they depend on who belongs to the home and how presence is detected. Time-based automations are easier to reason about. Sensor-triggered automations are often the most satisfying once the basics are stable, especially for closets, hallways, laundry rooms, and porches.
When you are ready for more than the obvious first few, use an automation recipe guide rather than inventing rules at random. The Beginner’s Smart Home Automation Cookbook is the natural next stop after you have at least one room working.
Where third-party apps still fit
Apple Home reduces daily app-hopping, but it does not make every manufacturer app disappear from the universe. Some accessories still use their own apps for firmware updates, advanced device-specific settings, cloud video plans, or first-time account steps. The practical goal is to make the Home app the place where the household controls the device day to day.
This is also why compatibility labels matter more than brand enthusiasm. A light, lock, thermostat, camera, plug, or sensor that joins Apple Home cleanly is easier to live with than a more feature-packed device that strands basic control in a separate app. If you are still choosing devices, a category guide such as Apple HomeKit Devices 2026 is more useful than buying the cheapest smart version of every object in the house.
Security is part of the Apple Home appeal
Apple says the Home app is designed with end-to-end encryption so that home data stays private and Apple cannot read the communication between your accessories and devices.[5] That does not turn every camera placement or vendor account into a non-issue, but it is a real reason many iPhone-first households prefer to start with Apple Home rather than stitching together unrelated apps.
The sensible security habit is to combine Apple’s platform protections with boring setup discipline: keep devices updated, remove accessories you no longer use, avoid sharing home access casually, and be more selective with cameras and locks than with lamps.
The reliable iPhone smart home path
The working path is not complicated, but it is specific. Buy HomeKit-certified or Matter-compatible devices. Add a real Home Hub if you want remote access and automations. Pair each accessory in the Home app by scanning its code. Put devices in rooms, mark the most-used ones as favorites, then add one scene and one simple automation.
An iPhone can absolutely become the main remote for a smart home. The version that feels calm instead of fragile depends on the two details beginners are most likely to skip: compatibility before purchase, and a HomePod or Apple TV acting as the always-on hub.
References
- Add a smart home accessory to the Home app, Apple Support, March 2026
- Ultimate Guide to Apple HomeKit, SafeWise
- Best Apple HomeKit and Siri Devices to Buy in 2026, CNET, June 2026
- 17 Best Smart Home Devices for Apple HomeKit and Siri in 2026, Wirecutter
- Home App, Apple
- Your Ultimate Guide to HomeKit for iPhone in 2026, Automated Home Guide, February 2026
- Create scenes and automations with the Home app, Apple Support
Community Tips
Share platform-specific variations, steps that have changed after app updates, or tips that helped your installation succeed.
Comments
Join the discussion with an anonymous comment.