
Three smart home heat wave automations for any skill level
Heat wave protection isn't a single thermostat setting. These three tiered automation recipes—from beginner smart-plug schedules to advanced presence-based cooling—let you match protection to your skill level and existing hardware, with ROI data from real devices.
A smart thermostat set to 78°F is a temperature preference. It is not, by itself, a heat-wave protection plan.
The problem is that houses do not heat evenly. The west bedroom can become miserable at 3 p.m. while the hallway thermostat still looks reasonable. A living room with sun on the glass needs a different response than a shaded office. Someone sitting still on a couch may need air movement even when a basic motion sensor thinks the room is empty.
That matters more now because recent heat events have not been polite, localized annoyances. A March 2026 western U.S. heat dome broke more than 1,500 daily records, and Europe’s May 2026 heatwave reached roughly 10°C above average in affected areas.[1][2] Ready.gov also cites 2,325 heat-related deaths in the U.S. in 2023.[3] Those numbers are not a reason to buy every sensor on the shelf. They are a reason to make the gear you already own behave less lazily when the weather gets ugly.
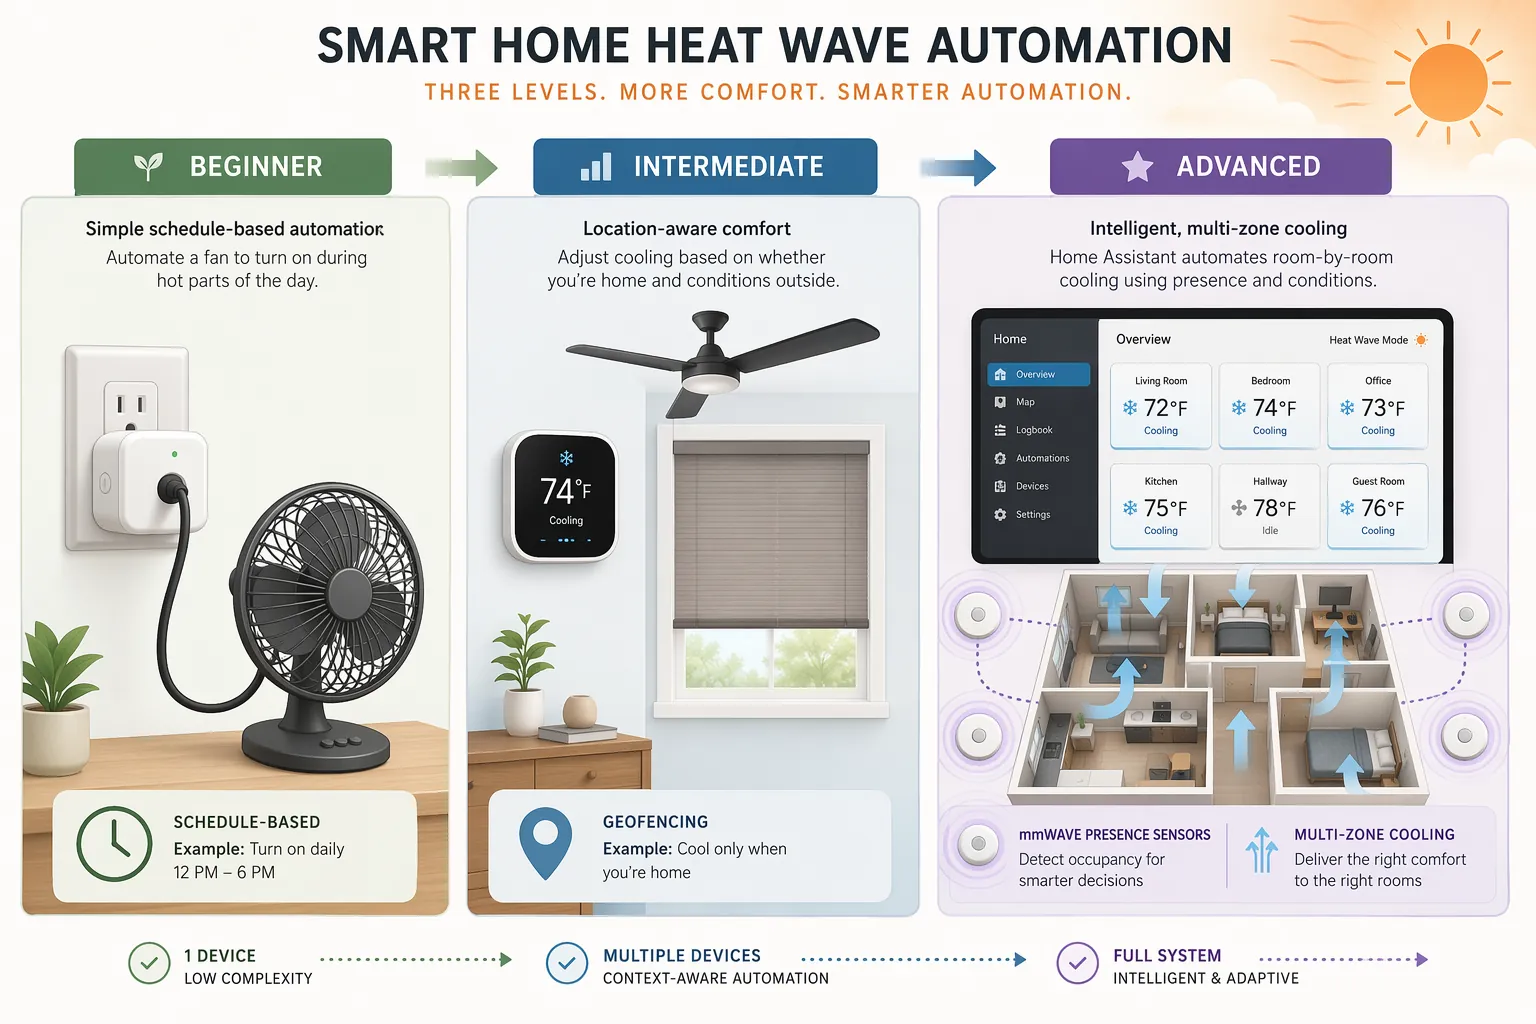
Here are three smart home tips for extreme heat wave protection, written as automation recipes rather than vague device advice. Start with the tier that matches your current hardware. If you want broader inspiration after this, the companion guide to home automation ideas by skill level is a better next stop than buying another hub just because it exists.
| Tier | Best if you have | Main job | What it automates |
|---|---|---|---|
| Beginner | Smart plugs, existing fans, maybe one smart thermostat | Move air on a schedule without cooling empty hours | Fan schedules, afternoon boosts, nighttime shutoffs |
| Intermediate | Smart thermostat, automated blinds or shades, fans | Block heat before the room bakes, then coordinate cooling | Blinds by sun/time, thermostat pre-cooling, geofencing |
| Advanced | Home Assistant, room sensors, mmWave presence, multi-zone cooling or IR control | Cool occupied rooms without trusting crude motion | Presence-based fans, AC setpoints, vacancy grace periods, room priority |
Tier 1: Smart plugs and fans that actually do something useful
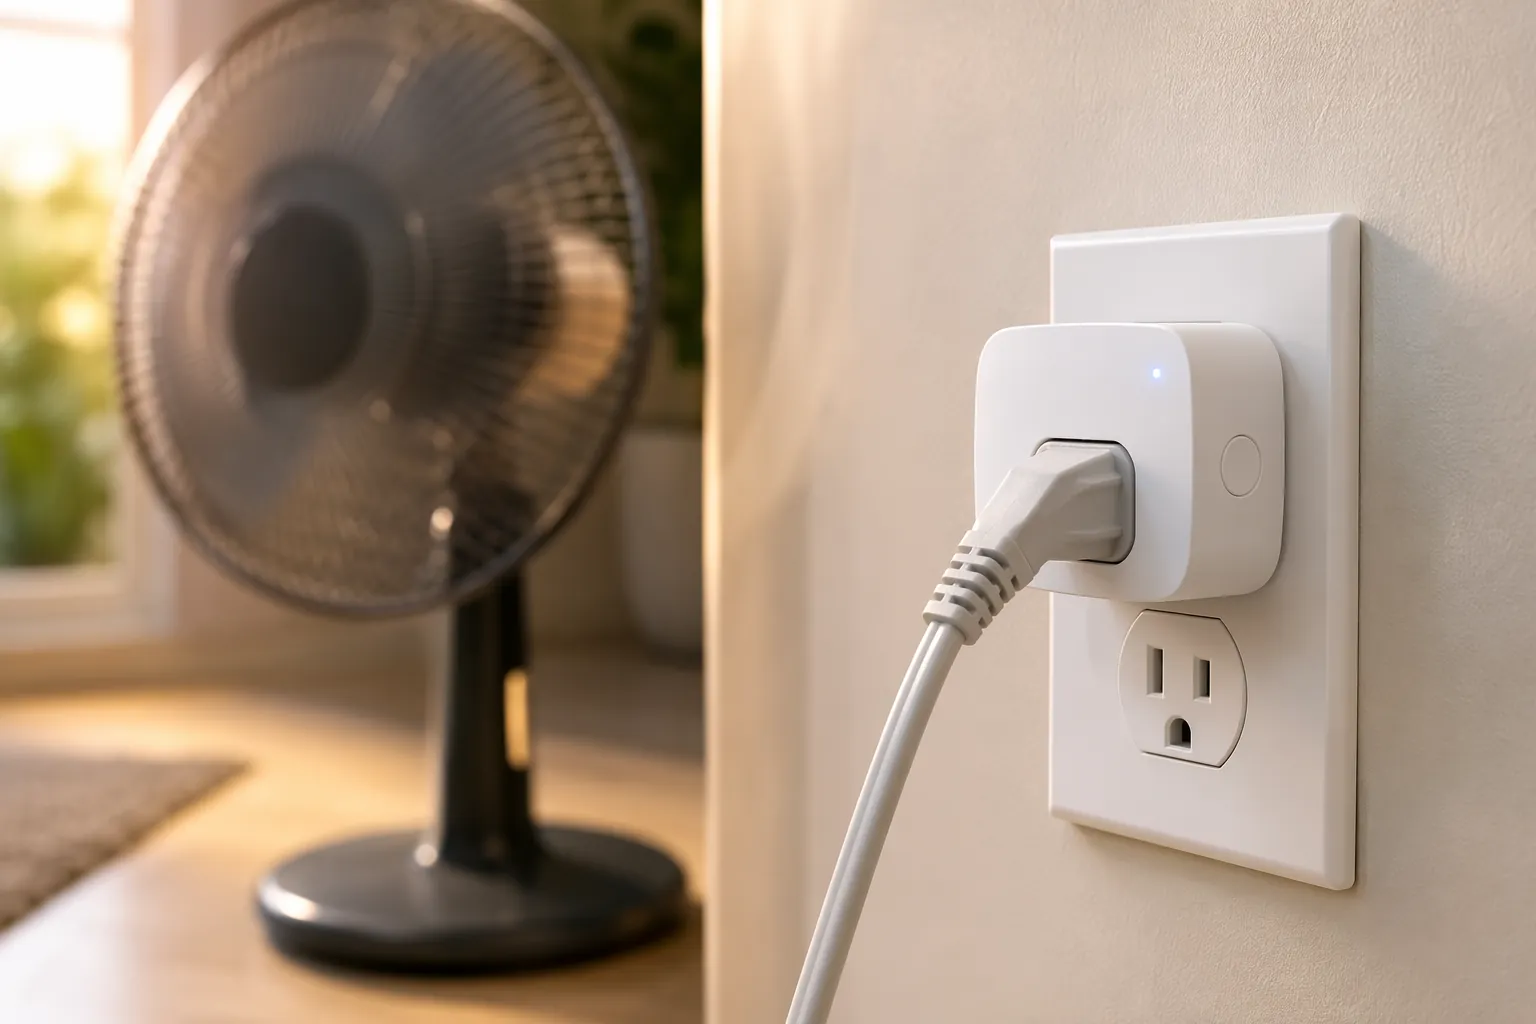
The cheapest useful heat-wave automation is usually not a new air conditioner accessory. It is a smart plug on a fan you already own.
That sounds underwhelming until you look at what the plug is being asked to do. It is not cooling the air. It is making sure air moves during the hours when people are most likely to feel trapped in a warm room, and it is cutting off the fan when nobody benefits. At $10–15 per plug, this is a much easier bet than buying one expensive device and expecting it to solve heat gain, room imbalance, and occupancy all at once.[4]
Beginner recipe: afternoon fan boost
| Part | Setting |
|---|---|
| Devices | 1–4 smart plugs; existing fans; optional smart thermostat |
| Platforms | Alexa, Google Home, Apple Home, SmartThings, Kasa, Wyze, or similar plug app |
| Trigger | Time of day, outdoor heat alert, or indoor temperature if your platform exposes it |
| Action | Run fans before the hottest room becomes uncomfortable; shut them off after the occupied period |
| Fail-safe | Default to a simple schedule if temperature or weather triggers are unreliable |
Start with the rooms where someone sits still: a home office, a living room chair, a bedroom used for afternoon rest, or the room where an older relative watches TV. Do not start with the prettiest automation screen. Start with the body that has to sit through 3 p.m.
A basic schedule can look like this:
- Living room fan: on from 1:30 p.m. to 6:30 p.m. during heat-wave days.
- Bedroom fan: on from 8:30 p.m. to 11:30 p.m., then off unless the room is still in use.
- Home office fan: on 15–30 minutes before the usual work block, off at the end of the block.
- All fan plugs: off when the household leaves, if your app has reliable away detection.
If your plug app supports conditions, add one: only run the fan routine when the outdoor forecast is above your chosen heat threshold, or when an indoor sensor reports that the room has crossed your comfort line. If it does not, keep the automation dumb and predictable. During extreme heat, a boring routine that runs every afternoon is usually better than a clever weather trigger that silently fails because an API timed out.
Alexa users can build this as a routine: “At 1:30 p.m., turn on Living Room Fan Plug,” then add a second routine to turn it off later. If you want room-by-room examples, the Alexa smart plug automation recipes go deeper without requiring Home Assistant.
Where the thermostat fits in this tier
If you already own a smart thermostat, pair it with the fan plugs instead of treating the thermostat as the whole plan. ENERGY STAR’s smart thermostat program is built around devices that can reduce heating and cooling energy use through scheduling, occupancy, and remote control features.[5] That is valuable, but the thermostat still reads one location unless you add room sensors. A fan plug can cover the gap between “the hallway is fine” and “the chair by the window is not fine.”
A practical beginner pairing is:
- Let the smart thermostat handle the house-wide cooling schedule.
- Use smart plugs to run fans in the two or three rooms where people actually spend hot hours.
- Use time blocks first; add temperature or occupancy conditions only after the basic schedule has proven reliable.
- Name plugs by room and device, not by brand: “Office Fan,” “Bedroom Fan,” “Living Room Fan.”
That naming detail sounds fussy until you are editing routines during a heat advisory. “Kasa Plug 3” is how mistakes get made.
Beginner routine logic to copy
| Routine | Trigger | Action | Why it works |
|---|---|---|---|
| Afternoon occupied-room fan | Weekdays at 1:30 p.m. | Turn on office or living room fan plug | Moves air before the room reaches its worst hour |
| Evening bedroom assist | 8:30 p.m. | Turn on bedroom fan plug | Helps the room recover before sleep |
| Late-night shutoff | 11:30 p.m. or chosen bedtime | Turn off nonessential fan plugs | Avoids running fans after people leave the room |
| Away cleanup | Household leaves | Turn off fan plugs | Prevents wasted runtime if the schedule continues while nobody is home |
If your smart plugs include energy monitoring, use it for two weeks. You are not looking for a perfect laboratory result. You are looking for obvious waste: a fan that runs all afternoon in an empty guest room, a bedroom fan left on until morning, or a schedule that starts too late to matter. The smart plug energy monitoring automations are useful once you want plug-level feedback instead of guesswork.
The ROI case is simple enough to keep out of spreadsheet cosplay. Three smart plugs may cost less than one premium sensor, and they can automate three rooms immediately. A smart thermostat is still the bigger energy device, but plug-controlled fans are often the fastest way to make heat-wave comfort less dependent on someone remembering to press a button. For a fuller device-by-device payback comparison, use the payback-focused guide to smart home energy savings.
Tier 2: Thermostat, blinds, and fans working before the sun wins
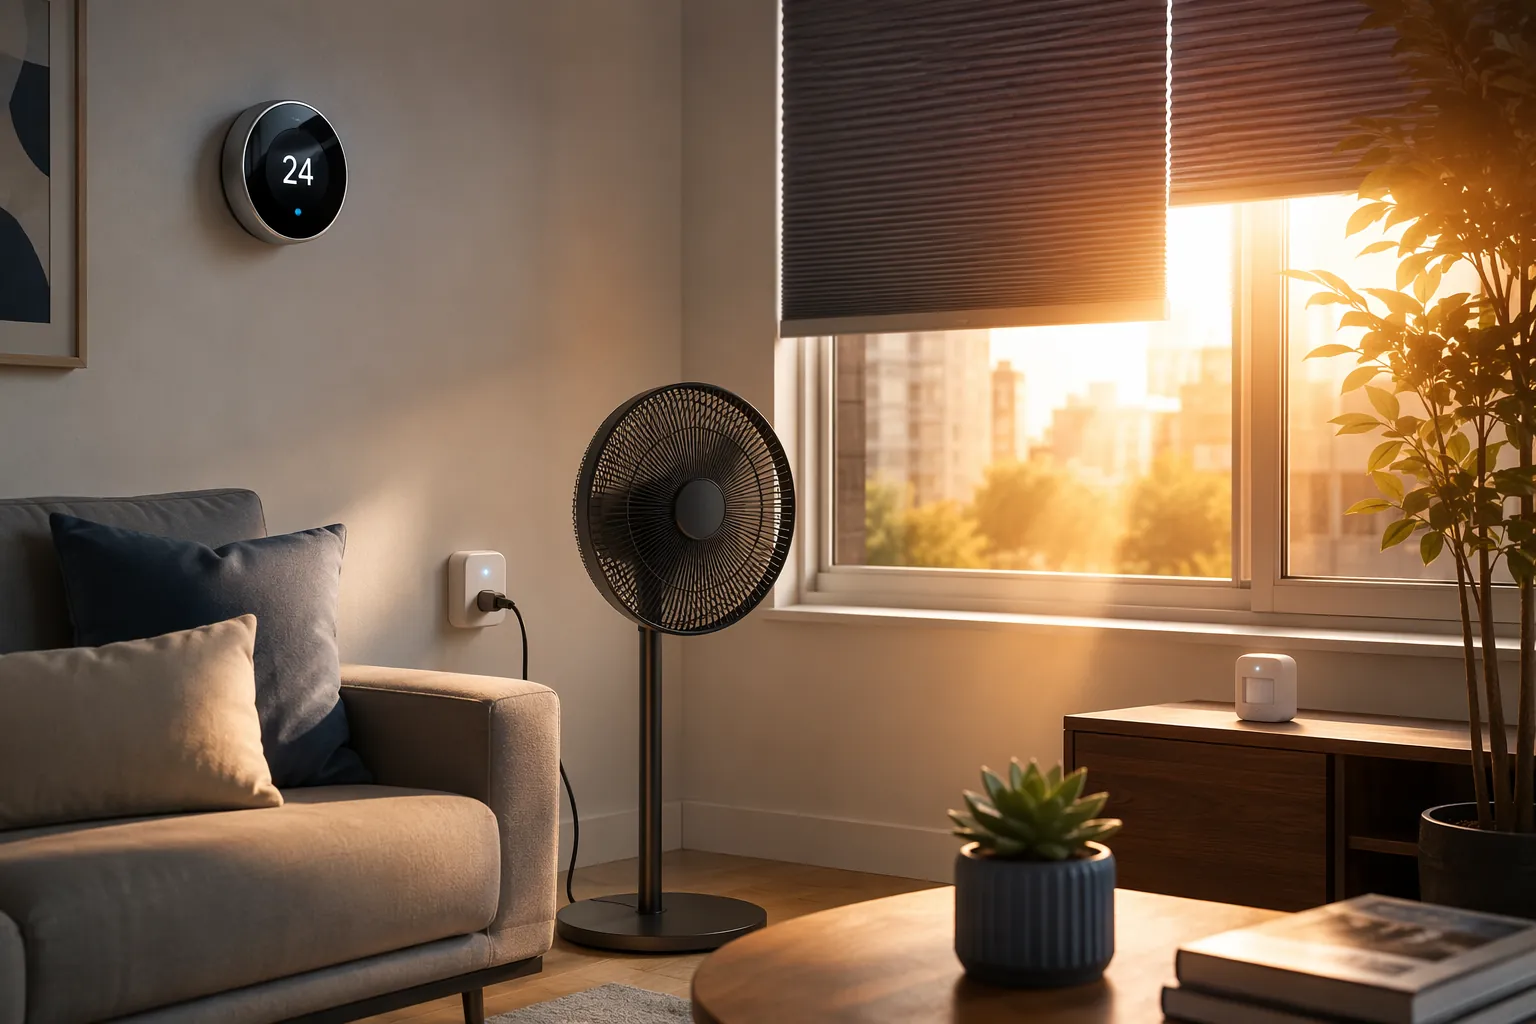
The intermediate tier is where the house starts reacting before the room feels bad. The most important addition is not glamorous: automated blinds or shades.
Windows are a heat-wave automation problem because sunlight is not just light. OmniaBlinds says up to 76% of sunlight hitting a window enters as heat, which is why closing the right shades at the right hour can matter more than another thermostat tweak.[6] Treat that number as a passive-load warning, not a universal guarantee for every window, shade fabric, and glass type.
Intermediate recipe: block, pre-cool, circulate
| Layer | Trigger | Action |
|---|---|---|
| Blinds | Sun-exposed windows before peak heat | Close or partially close shades on the hot side of the house |
| Thermostat | Before the afternoon peak or before people arrive home | Pre-cool modestly, then hold a steady setpoint |
| Fans | Occupied afternoon and evening rooms | Run plug-controlled fans to improve comfort without dropping the whole-house setpoint |
| Away mode | All residents leave | Raise cooling setpoint and turn off nonessential fan plugs |
| Return home | First resident approaches or arrives | Resume comfort schedule and run fans in likely occupied rooms |
This is also where geofencing becomes useful, with one caveat: savings estimates are not the same as guaranteed savings in your house. Consumer guides commonly cite Ecobee estimates that geofencing can save 15–23% on cooling costs; because those figures are tied to vendor-reported estimates repeated through secondary sources, use them as a planning range, not as an independent promise.[4][7]
The routine should avoid dramatic setpoint swings. A heat-wave home often recovers slowly, especially if the blinds stayed open or the thermostat waited until everyone was already uncomfortable. The useful automation is a sequence:
- Close west- or south-facing blinds before the sun hits those windows hard.
- Pre-cool slightly before the afternoon peak or before the first person returns.
- Run fans in the rooms people use first, instead of dropping the whole-house setpoint several degrees.
- When the home is empty, relax the thermostat and shut off fan plugs.
- When someone returns, restore the comfort schedule before they walk into the hottest room.
A good intermediate setup still fails in an understandable way. If the geofence misses a phone, the blinds schedule still blocks heat. If the blind motor misses a command, the thermostat and fans still respond. If the thermostat cloud service is slow, the fan plugs still run on local app schedules if you configured them that way.
This tier is the right stopping point for many homes. You do not need room-by-room presence logic just to keep a sunny living room from becoming a box of stored heat. If you want the broader safety side—temperature alerts, wellness checks, and thresholds for more serious interventions—use the companion piece on how to configure your smart home for automated heat wave safety.
Tier 3: Presence-based cooling without punishing people who sit still
Advanced heat-wave automation is not about writing the longest Home Assistant YAML file. It is about avoiding expensive or uncomfortable wrong guesses.
Basic motion sensors are good at detecting walking. Heat waves create a different problem: people sit still. A person reading, working, recovering, or watching TV may not trigger a PIR motion sensor for long stretches, so a cooling automation can mark the room vacant at the worst possible time. LinknLink’s Home Assistant heatwave guide highlights mmWave presence sensors for this reason: they are better suited to detecting still occupancy than basic motion sensors.[8]
That does not make mmWave magic. It makes it the better tool for one specific job: deciding whether a room with a stationary person should keep getting air movement or cooling attention. If privacy is part of your sensor choice, the guide to whether mmWave presence sensors are more private than cameras is worth reading before you mount anything.
Advanced recipe: room priority cooling
| Input | Use it for | Do not use it for |
|---|---|---|
| Room temperature sensor | Finding rooms that are actually hot | Assuming the whole home has the same temperature |
| mmWave presence sensor | Keeping cooling active for someone sitting still | Identifying who the person is |
| Basic motion sensor | Fast activity detection and backup confirmation | Declaring vacancy immediately |
| Smart plug or IR blaster | Fan, portable AC, or mini-split control | Life-safety operation without manual fallback |
| Thermostat or zone control | House-wide or zone-wide setpoint changes | Solving one overheated room without considering the rest of the system |
The core logic is: if a room is hot and occupied, assist that room; if it appears vacant, wait before backing off; if several rooms are occupied, prioritize the room with the highest heat risk or the person least able to relocate.
The vacancy delay matters. A 10–15 minute grace period prevents the system from short-cycling fans or changing cooling modes every time someone walks to the kitchen, uses the bathroom, or sits still just long enough for a weaker sensor to lose them.[8]
Home Assistant structural pattern
The following YAML is a structural pattern, not a copy-paste-ready script. Entity names, helper names, thermostat services, IR commands, and device behavior vary by installation. Build it slowly: one room, one fan, one sensor, then expand.
alias: Heat wave occupied room assist
mode: restart

trigger:
  - platform: numeric_state
    entity_id: sensor.living_room_temperature
    above: 78
    for: "00:05:00"
  - platform: state
    entity_id: binary_sensor.living_room_presence_mmwave
    to: "on"

condition:
  - condition: state
    entity_id: input_boolean.heat_wave_mode
    state: "on"
  - condition: time
    after: "12:00:00"
    before: "20:00:00"
  - condition: state
    entity_id: binary_sensor.living_room_presence_mmwave
    state: "on"

action:
  - service: switch.turn_on
    target:
      entity_id: switch.living_room_fan_plug
  - choose:
      - conditions:
          - condition: numeric_state
            entity_id: sensor.living_room_temperature
            above: 82
        sequence:
          - service: script.living_room_cooling_boost
  - delay: "00:15:00"
  - condition: state
    entity_id: binary_sensor.living_room_presence_mmwave
    state: "off"
  - service: switch.turn_off
    target:
      entity_id: switch.living_room_fan_plug
The important part is not the exact threshold in the example. It is the order of decisions: heat-wave mode must be active, the room must be hot enough to justify action, presence must be confirmed, and vacancy must remain true long enough before the system backs off.
What to add before you automate multiple zones
Multi-zone cooling can become annoying fast if every room fights for attention. Before adding more rooms, create a priority rule that matches how the home is actually used.
- Give bedrooms higher priority at night and living spaces higher priority in the afternoon.
- Use mmWave presence for still-occupancy rooms, especially offices, TV rooms, and bedrooms.
- Keep basic motion sensors as supporting evidence, not the only vacancy signal.
- Add a 10–15 minute vacancy grace period before shutting off fan plugs or relaxing a room.
- Leave manual controls obvious. A wall switch, remote, or app button should still work when the automation guesses wrong.
For portable AC units, mini-splits, and IR-controlled devices, be conservative. Confirm that the command actually changes the mode you think it changes. Confirm what happens after a power outage. Confirm that a fan resumes safely. This is not the place for mystery automations that nobody else in the house understands.
If you want a narrower Home Assistant build, the bedroom-specific guide to Home Assistant automations that keep a bedroom cool during a heat wave is a better next project than trying to automate the whole house in one weekend.
Which tier should you build before the next heat dome?
Choose the tier that removes the most immediate failure in your current setup.
| If your current problem is | Build this next | Reason |
|---|---|---|
| People forget to turn fans on or off | Tier 1 | Smart plugs solve the human-memory problem cheaply |
| Sunny rooms overheat before the AC catches up | Tier 2 | Blinds reduce heat gain before cooling has to fight it |
| The thermostat says the house is fine but one occupied room is miserable | Tier 3 | Room sensors and presence logic can target the actual room |
| Your automations shut off while someone is sitting still | Tier 3 with mmWave | Still presence detection is the specific fix |
| You have no automation at all | Tier 1 plus a thermostat plan | A few plug schedules and a thermostat schedule create a useful baseline |
The best first purchase for many homes is still a smart thermostat plus a few smart plugs, not a cabinet full of sensors. The thermostat handles the largest cooling schedule. The plugs make existing fans useful in the rooms where people actually sit. Blinds come next if sun exposure is the main enemy. Presence sensors come later when occupancy mistakes are costing comfort or energy.
A heat-wave routine earns its keep when it reduces heat gain, moves air where people are, avoids cooling empty rooms, and fails in a way you can predict. Build that layer first.
References
- Record-breaking March heatwave — Climate Central
- What do we know about Europe's early and intense heatwave in May 2026? — Copernicus
- Extreme Heat — Ready.gov
- 10 Smart Home Tricks That Keep Your House Cool Without Spiking Your Energy Bill — CNET
- Smart Thermostats — ENERGY STAR
- Smart Blinds Energy Savings USA 2025 — OmniaBlinds
- Smart Home Cooling: 10 Tricks to Keep Your Home Cooler — Evapolar
- Home Assistant Heatwave Automation Guide with Presence, Temperature and IR Control — LinknLink