
Turn the Motorola Moto Pad 70 5G into a smart home controller
This step-by-step guide explains how to set up the Motorola Moto Pad 70 5G as a dedicated smart home controller dashboard — covering wall-mounting, always-on configuration for Google Home, Home Assistant, and Alexa, and the third-party hardware you'll need. Learn how this 11-inch Android tablet can outperform a dedicated hub at a lower cost while adding 5G connectivity.
Last updated
Yes, using the Motorola Moto Pad 70 5G as a smart home controller is workable. It is also the kind of project that only feels polished if you treat the tablet, mount, power, charging behavior, and dashboard app as one installation instead of five separate purchases. The Moto Pad gives you the right raw material: an 11-inch 2.5K display, Android flexibility, and optional 5G. What it does not give you is a Motorola-made wall dock or a true one-box smart-display mode.
One naming note before the setup: in the U.S., Motorola lists the tablet as “moto pad — 2026,” while the Moto Pad 70 / Moto Pad 70 5G naming is used in other markets and search results. This guide is about the standard 11-inch Moto Pad-class tablet, not the larger Moto Pad 70 Pro or claims tied to that separate higher-tier model. The U.S. specifications list the 11-inch 2.5K display, 90Hz refresh rate, 5G option, and slim metal body that matter for this project.[1]
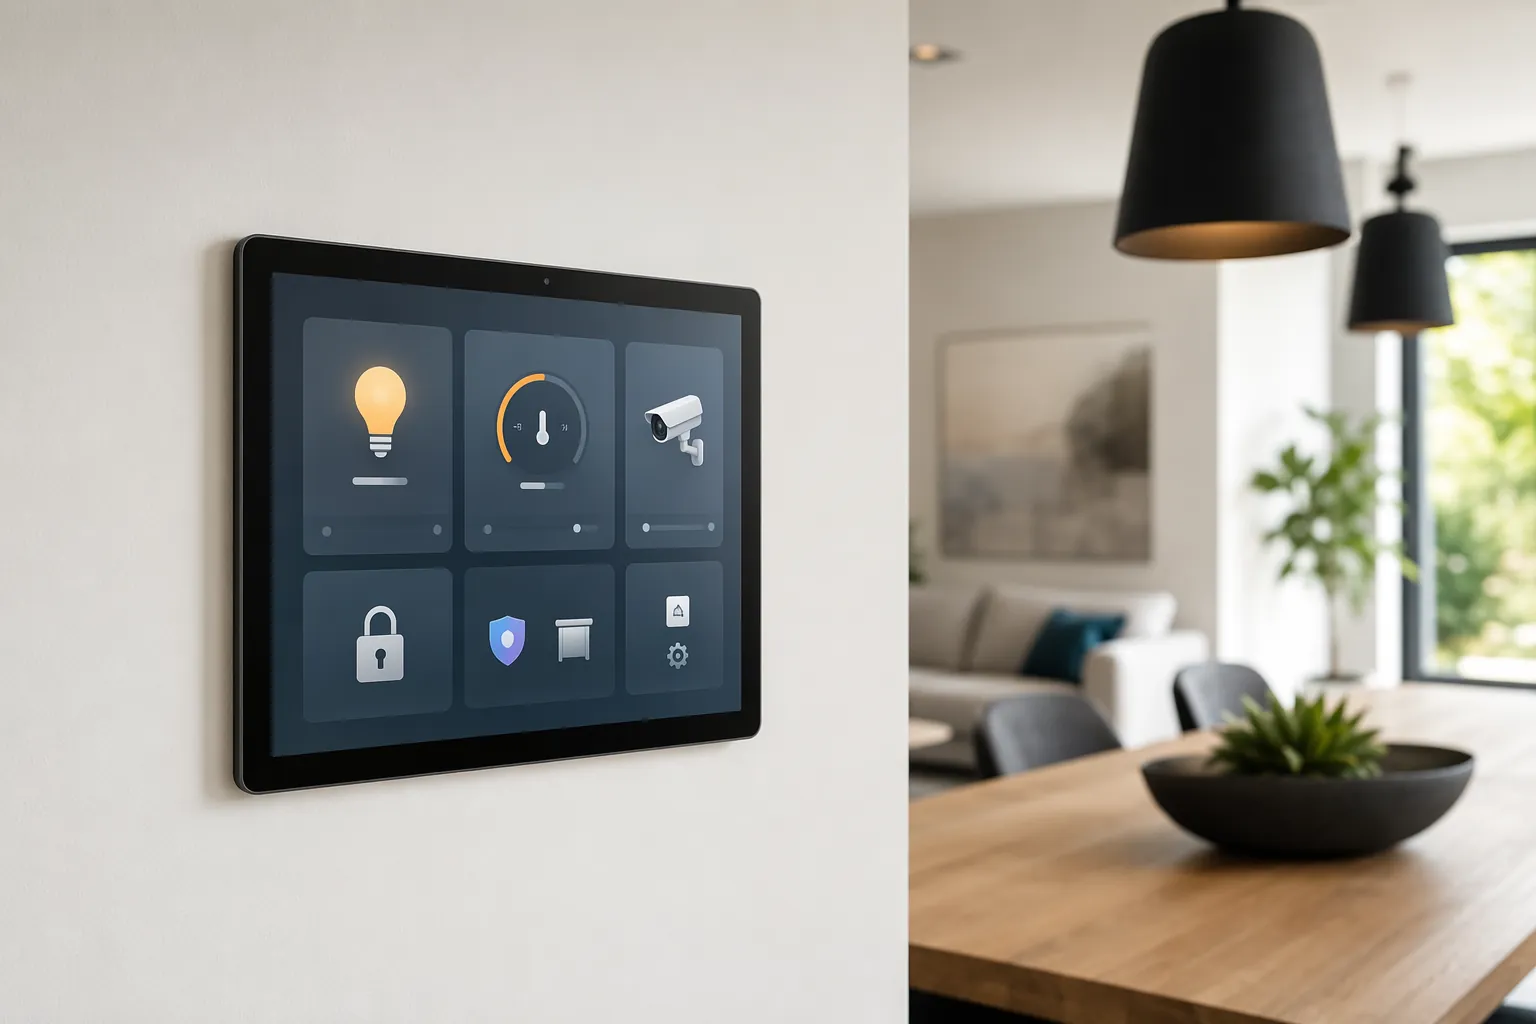
Before you buy a mount or peel backing off adhesive, make sure the full recipe is acceptable. You need the tablet, a Google Home, Home Assistant, or Alexa control path, a third-party wall or counter mount, continuous USB-C power, a cellular data plan only if you intend to use 5G, and patience for the fact that there is no official charging dock. The tablet can become the family’s front-door, lights, cameras, and routines panel. It will not become that just because it is large.
Why this tablet is tempting as a controller
The screen is the first real argument. A Nest Hub-style 1024×600 display can show a doorbell feed or a few device tiles, but it starts to feel cramped once you add room groups, cameras, climate, locks, and scenes. The Moto Pad’s 11-inch 2.5K panel has roughly 2.4 times the pixel count of a Nest Hub screen, which matters less for movie watching than for reading a dashboard from across a hallway.[1]
The second argument is independence. Built-in 5G means the controller does not have to depend entirely on the Wi-Fi signal at the exact wall location, as long as you add a cellular data plan and the tablet gets usable signal there. That is not a free feature, and it is not a substitute for fixing a bad home network, but it is unusual among home dashboard tablets and dedicated hubs.[1][2]
The third argument is that it is still Android. You can run Google Home, Home Assistant dashboards, Alexa, camera apps, browser dashboards, notification tools, and kiosk software. The battery is listed at 7040mAh with up to 12 hours of video streaming, and T-Mobile’s specifications include Android adaptive charging behavior, which matters when a tablet will spend most of its life plugged in.[2]
That is the good part. The annoying part is the missing dock. A Pixel Tablet can be designed around its dock; a wall-mounted Moto Pad has to be made into an appliance with third-party hardware, a cable plan, and software rules that keep the dashboard alive after a reboot, app crash, or curious family member.
The setup flow
| Stage | What you are proving | Do not continue until |
|---|---|---|
| Prepare the tablet | The Moto Pad can run cleanly as a shared controller | Updates, accounts, permissions, and apps are sorted |
| Choose the location | The panel is visible, reachable, powered, and connected | Wi-Fi or 5G signal is acceptable at the mount point |
| Solve power | The tablet can stay charged without an ugly or unsafe cable | USB-C routing and strain relief are decided |
| Configure display behavior | The screen wakes and stays useful predictably | Charging, screen timeout, lock screen, and dashboard behavior are tested |
| Pick the dashboard platform | The controller opens to the right home-control surface | Google Home, Home Assistant, or Alexa works for the devices you actually use |
| Verify the installation | The household can use it without your explanation | Cameras, lights, routines, locks, wake behavior, and recovery after reboot all pass |
1. Reset and prepare the Moto Pad
Start with a clean tablet, even if it is new. A smart-home controller should not be full of personal apps, old notifications, games, shopping accounts, or personal photo widgets. Factory reset it if it has already been used, then update Android and the core Google apps before mounting. It is much easier to deal with updates on a desk than while the tablet is clipped into a bracket beside the garage door.
- Create or choose the Google account that will live on the tablet. For shared homes, a household or limited-purpose account is cleaner than using one person’s main phone account.
- Install only the dashboard apps you need: Google Home, Home Assistant companion app or browser dashboard, Alexa, camera apps, and kiosk software if you are using it.
- Disable unnecessary notifications. A wall controller should not become a notification billboard.
- Set device names clearly inside your smart-home platform before building the tablet view. “Kitchen pendants” beats “Light 7” when someone is standing in front of the panel with wet hands.
- Decide whether the tablet is allowed to unlock controls without a PIN. If locks, garage doors, alarms, or cameras are exposed, convenience and access control need to be discussed before the tablet goes on the wall.
For Google Home users, make sure the tablet is added to the same home and that the account can see the devices you expect. For Home Assistant users, create a dashboard specifically for the wall tablet instead of reusing your admin view. For Alexa users, confirm the Android app can reach the device groups and routines you want before treating it as the main panel.
2. Choose the wall location before choosing the mount
A wall tablet fails in boring ways. It is too high for shorter people, too low to read while walking past, mounted where the door hits it, too far from power, or placed in a Wi-Fi dead spot because that was the prettiest patch of drywall. Pick the job first, then the location.
- For an entry panel, put it where someone naturally pauses: inside the main door, near the mudroom, or beside the security keypad area.
- For room control, place it where it can be reached without crossing the room: kitchen command wall, hallway, primary bedroom entrance, or media-room side wall.
- For camera monitoring, avoid glare. A beautiful sunlit wall can make a dark-mode dashboard unreadable during the afternoon.
- For 5G fallback, test signal at the exact height and location, not just elsewhere in the room.
A common tablet-dashboard mounting range is about 48 to 54 inches from the floor, with third-party 11-inch tablet mounts often falling in the $30 to $60 range. That height range is useful because it keeps the display reachable without making it look like a thermostat hung for a very tall person.[4]
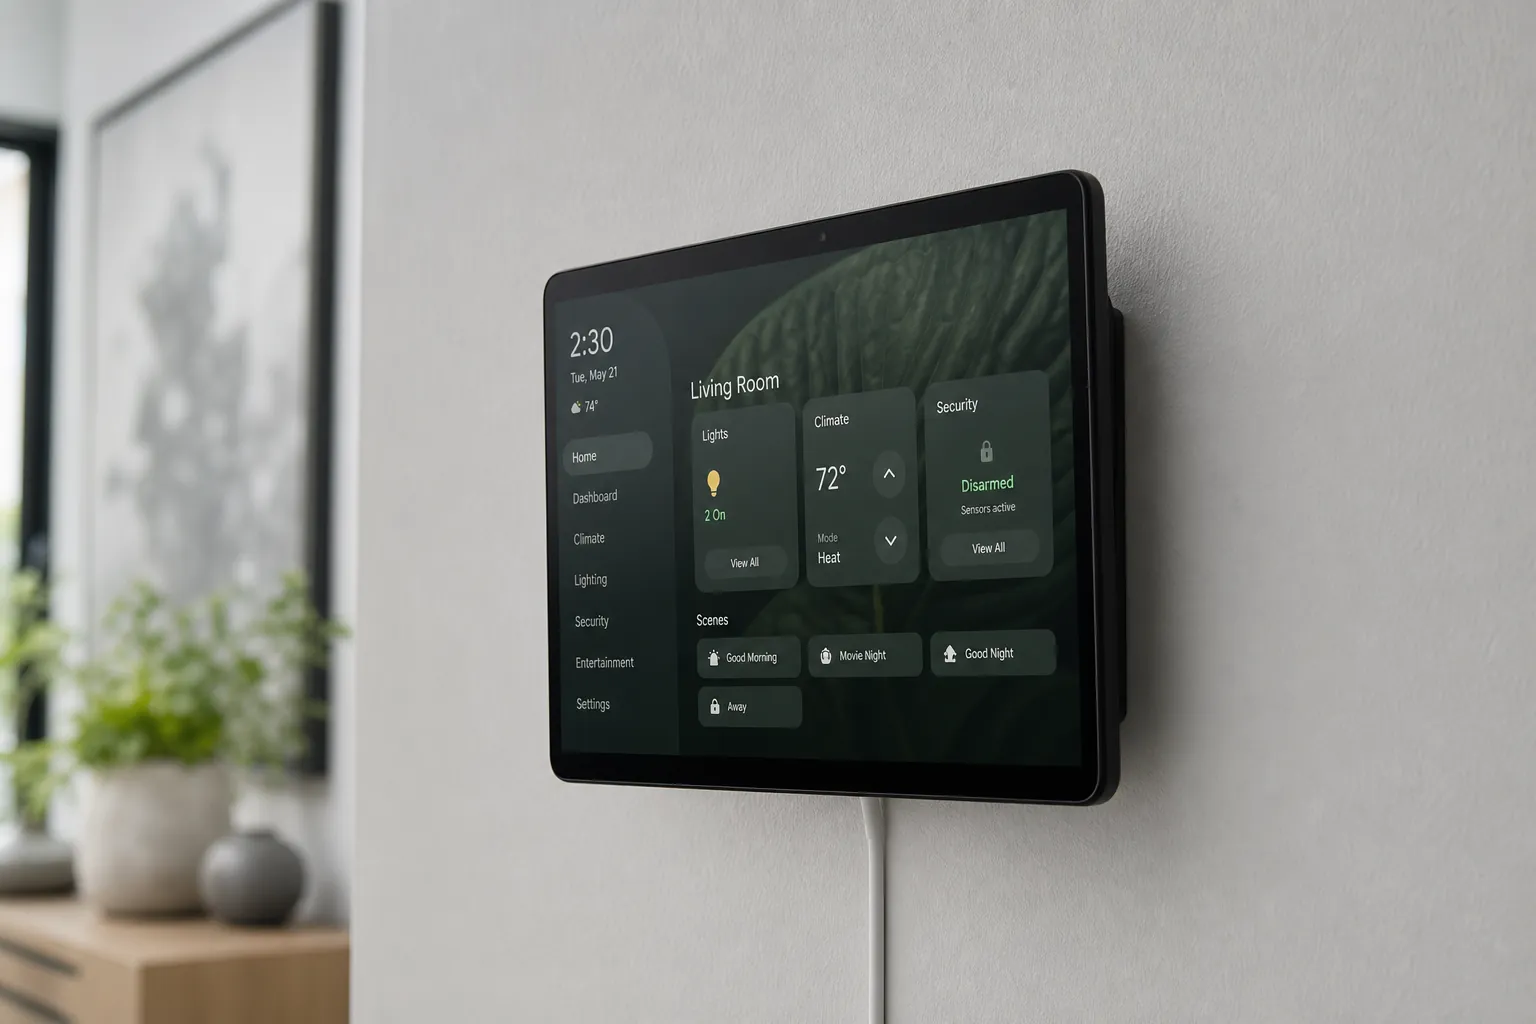
The Moto Pad’s slim metal body is good for a clean installation, but do not trap it in a sealed frame that blocks heat dissipation. A low-profile bracket or open-sided frame is usually safer than a decorative enclosure that makes the tablet look built in while slowly cooking it.
Mount styles that make sense
| Mount type | Best use | Watch for |
|---|---|---|
| Low-profile wall bracket | Clean permanent dashboard | Exact fit, access to USB-C port, enough ventilation |
| Magnetic or adhesive tablet mount | Rental-friendly or test placement | Weight rating, wall texture, failure risk over time |
| Counter or shelf stand | Kitchen, office, or no-wall-drilling setups | Cable clutter and accidental movement |
| Articulating arm | Workshop, desk, or bedside control | Bulk, wobble, and whether it still looks intentional |
3. Route power like it is part of the design
This is the part most “use a tablet as a dashboard” advice waves away. A crooked cable hanging from an 11-inch screen is not a smart-home panel; it is a tablet you got tired of holding. Decide how the USB-C cable reaches the Moto Pad before mounting anything.
- Best-looking option: place the tablet near a recessed outlet or route USB-C power through the wall using hardware appropriate for your local electrical code. If you are not comfortable with in-wall work, hire someone who is.
- Acceptable option: run a short right-angle USB-C cable into a surface raceway painted to match the wall. It is visible, but it looks intentional.
- Temporary option: use a normal cable to test the location for a week before committing. Do this before drilling, not after.
Use a right-angle USB-C connector if the mount leaves the port exposed on the bottom or side. Add strain relief so the cable is not pulling against the tablet all day. If the mount clamps near the USB-C port, test the cable while the tablet is actually in the bracket; a cable that fits on the desk may not clear the frame.
Continuous power is the goal, but continuous power does not mean ignoring the battery. Adaptive charging helps reduce battery stress when the device spends long periods plugged in, yet the installation still needs airflow and a charger that does not run hot.[2] Once installed, check the tablet after a few hours of dashboard use with the screen on. Warm is normal; hot, swelling, or repeated charging interruptions are not.
4. Make Android behave like a fixed appliance
A wall controller has to wake the same way every time. That usually means reducing Android’s phone-like habits: lock screens, notification shade distractions, aggressive battery optimization, and apps that fall asleep after a few hours.
- Set screen timeout and screen saver behavior based on your platform choice. Google Home users may be able to lean on Android’s Home Controls screen saver; Home Assistant users often get better control from kiosk software.
- Disable battery optimization for the dashboard app and any kiosk app you rely on.
- Allow local network, camera, microphone, notification, and background permissions only when they are needed for your dashboard or voice-control setup.
- Turn off rotation unless your mount is designed for both orientations.
- Set brightness manually or test adaptive brightness at night and in daylight. Hallway panels often look fine at noon and obnoxious at 2 a.m.
- Reboot the tablet after configuration and confirm it returns to the expected app or dashboard.
If you want the cleanest appliance feel, do not leave the tablet as a normal Android home screen with a dashboard icon. That works until someone swipes away the app, opens YouTube, changes brightness, or leaves it on the app drawer. The stronger setups either use Android’s home-control surface while charging or use kiosk software to keep the dashboard in front.
5. Google Home path: use Android 15 Home Controls if it works on your build
For a mostly Google Home household, this is the lowest-friction path. Google documents a Home Controls screen saver option on Android 15 that can show smart-home controls while the device is charging.[3] In theory, that fits a wall-powered Moto Pad perfectly: plug it in, let it charge, and let the screen saver become the control surface.
The caveat is important: as of July 2026, there is no published hands-on smart-home dashboard test confirming the exact behavior of this feature on the Moto Pad’s Motorola software build. Treat it as the first thing to test on a table, not as something to discover after the tablet is mounted.
- Update the tablet and Google Home app.
- Open Google Home and confirm the tablet account has access to the correct home, rooms, cameras, lights, locks, thermostats, and routines.
- Open Android settings and look for display, screen saver, or lock-screen Home Controls options.
- Enable the Home Controls screen saver if available, then plug in the tablet and wait long enough for the screen saver to appear.
- Test whether camera tiles, lights, climate controls, and routines appear without unlocking more often than your household can tolerate.
- Reboot while plugged in and confirm the same behavior returns.
If this works reliably, it is the cleanest Google-first configuration because it reduces your dependence on third-party kiosk tools. If it does not expose enough controls, requires too many unlocks, or falls back to a blank screen, switch to an app-based dashboard or the Home Assistant path rather than fighting it for days.
6. Home Assistant path: turn the Moto Pad into a managed endpoint
Home Assistant is where the Moto Pad becomes more than a large app launcher. The best version is not just “open a dashboard in a browser.” It is a dashboard plus device management: motion, screen state, battery level, charging status, wake commands, dimming, and recovery if the screen goes dark.
Fully Kiosk Browser is the usual bridge. Home Assistant’s Fully Kiosk integration exposes more than 10 sensors and more than 15 controls, including motion detection, battery level, screen state, and kiosk controls.[5] That lets the tablet participate in automations instead of merely displaying them.
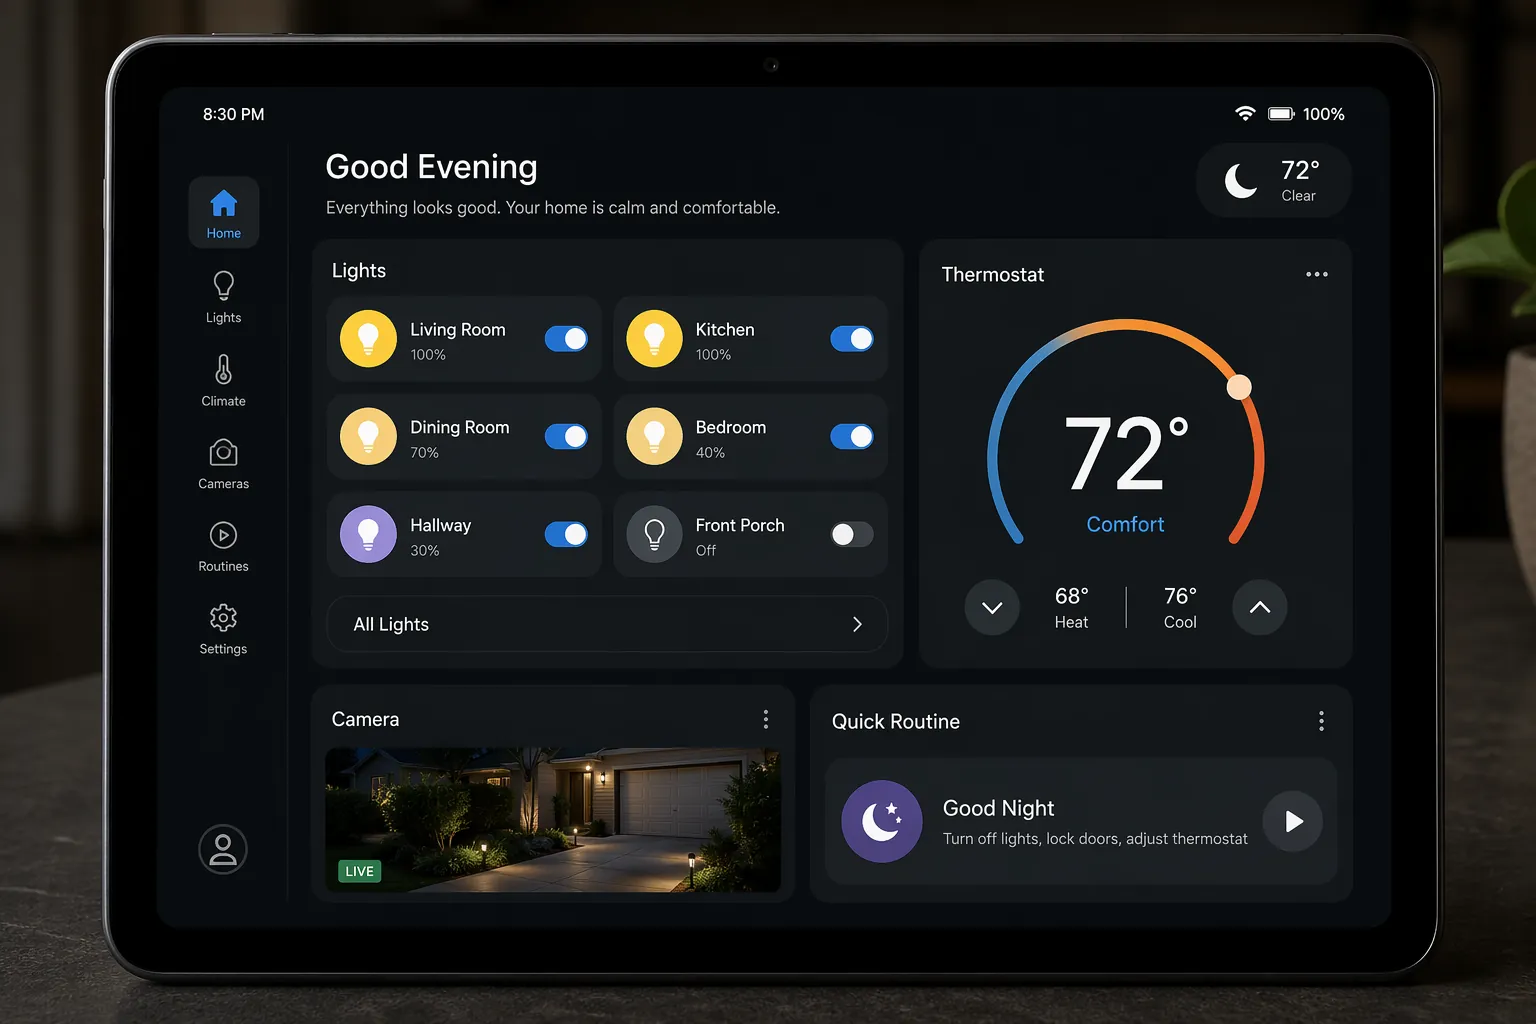
- Create a dedicated Home Assistant dashboard for the Moto Pad. Use large buttons, room sections, camera previews, climate cards, and only the controls people need from that physical location.
- Install Fully Kiosk Browser on the tablet and point it to the Home Assistant dashboard URL.
- Enable kiosk mode so the browser stays on the dashboard and hides browser chrome, navigation distractions, and Android UI as much as your setup allows.
- Connect Fully Kiosk to Home Assistant using the integration, then confirm the tablet appears with sensors and controls.
- Build simple tablet-management automations: wake on motion, dim at night, turn the screen off during sleep hours, reload the dashboard if it stops responding, and notify you if the tablet stops charging.
- Test local and remote access rules. A wall panel should keep working when your internet blips if your Home Assistant setup and network are designed for local control.
A practical Home Assistant dashboard for this tablet should be less dense than your laptop dashboard. The 11-inch screen can show more than a small hub, but the wall use case is different: glance, tap, leave. Put high-frequency controls on the first view. Hide admin-only toggles, helper entities, experimental automations, and anything that would confuse someone who just wants the porch light or the baby monitor.
A sensible Home Assistant layout
| Dashboard area | Good Moto Pad use | Avoid |
|---|---|---|
| Top row | Security mode, front door lock, garage, alarm status | Tiny status chips that require close reading |
| Main section | Room lighting scenes and climate controls | Every bulb as a separate tile |
| Camera section | Doorbell or driveway preview with tap-through | Too many live feeds that slow the dashboard |
| Routine section | Good night, away, movie, cleaning, dinner | Automations with unclear names |
| Maintenance section | Hidden or secondary page for tablet battery, charging, and reload controls | Admin controls on the household landing page |
If you have already used an old phone or tablet with Home Assistant, the same kiosk and battery-management thinking applies here. The difference is that the Moto Pad’s larger screen makes it worth designing a real family dashboard instead of squeezing a few controls into a recycled device.
7. Alexa path: useful, but mostly app-based
Alexa can work on the Moto Pad as a practical control app, especially if your home already uses Echo speakers, Alexa routines, and Alexa-compatible devices. Install the Alexa app, sign in to the household account, verify device groups, and place routines where they are easy to reach.
The limitation is that this route is less appliance-like than a dedicated Echo Show or a managed Home Assistant kiosk. You are mainly depending on the Android Alexa app staying available and behaving well on a shared tablet. For many homes, that is enough for lights, plugs, routines, and quick voice-adjacent control. For a locked-down wall panel, Home Assistant with kiosk software gives you more control over the tablet itself.
- Put the Alexa app on the home screen or inside your kiosk/app-launcher setup.
- Group devices by room so the tablet view is not a long alphabetized device list.
- Use routines for multi-step actions such as leaving home, bedtime, movie mode, or morning lights.
- Test whether the app returns to the same useful view after sleep, reboot, and accidental app switching.
8. Use 5G only where it solves a real placement problem
The Moto Pad’s cellular option is a genuine advantage over most dedicated hubs, but it should not be treated as magic. It requires a data plan, and the mounted location still needs adequate signal.[1][2] If the tablet is going in a normal Wi-Fi-covered kitchen, 5G may be unnecessary. If it is going in a detached studio, a weak hallway, a rental with unreliable guest Wi-Fi, or a location where cameras and controls must remain available during router trouble, it becomes more interesting.
Test both paths before final mounting. Stand at the intended wall location, open the dashboard, load camera feeds, trigger a light, run a routine, then disable Wi-Fi and repeat on cellular if you plan to pay for it. Do not judge signal from speed-test bragging rights; judge it by whether the dashboard controls respond quickly enough for the person standing at the wall.
9. Smart Connect is a bonus, not the control system
Motorola Smart Connect can pair Motorola phones and tablets for cross-device features such as unified control, clipboard sharing, file movement, and notification relay.[9] Android Central’s walkthrough also frames it as a continuity tool across Motorola and compatible devices.[10] That can be useful if the Moto Pad also lives as a kitchen or desk tablet before you commit to mounting it.
For this project, though, Smart Connect is not the smart-home dashboard. It does not replace Google Home, Home Assistant, Alexa, or your camera platform. Treat it as an ecosystem convenience, especially during setup, and keep the wall-controller role tied to the actual home-control app or dashboard.
10. Test it like the household will use it
General tablet-dashboard guides have already shown that old or inexpensive Android tablets can make capable smart-home panels when the software, power, and mount are handled carefully.[6][7][8] The Moto Pad version is simply a cleaner, larger, cellular-capable take on that pattern. The remaining question is whether your installation behaves like an appliance after you stop babysitting it.
- Mount: the tablet is level, secure, reachable, ventilated, and not in the path of a door, drawer, chair, or shoulder.
- Power: the USB-C cable is hidden or neatly routed, strain-relieved, continuously charging, and not warming the tablet or charger excessively.
- Connectivity: Wi-Fi is reliable at the wall, or 5G has been tested at that exact location with the intended data plan.
- Wake behavior: the screen wakes by tap, motion, screen saver, kiosk command, or whatever method your household expects.
- Dashboard recovery: after a reboot, app crash, or accidental swipe, the tablet can return to the dashboard without a troubleshooting session.
- Controls: lights, locks, thermostat, routines, and camera feeds work from the wall panel, not just from your phone.
- Permissions: the tablet exposes only the controls the household should have from a shared wall screen.
- Night behavior: brightness, dark mode, camera previews, and wake settings are tolerable after bedtime.
If those checks pass, the Moto Pad 70 5G earns its place. It is strongest for someone who wants a larger, sharper, more flexible Android controller and is willing to finish the physical installation that Motorola did not package for them. It can beat a small dedicated hub in dashboard clarity and flexibility, and 5G gives it an unusual fallback when the best wall location is not the best Wi-Fi location. It is not a one-box smart display replacement until the mount, cable, charging behavior, dashboard, and wake rules are all solved.
References
- moto pad — 2026, Motorola
- motorola moto pad (2026) specs, T-Mobile
- Use smart home devices from Android control panel, Google Home Help
- Smart Home Tablet Wall Mount, HomeAutoCentral
- Fully Kiosk Browser, Home Assistant
- How to use an old tablet as a smart home control panel, ZDNET
- A cheap Android tablet makes a better smart display than any dedicated hub I've tried — here's why, Android Police
- Stop wasting an old tablet on Netflix — use it as a smart home command center, XDA
- Smart Connect - Pair devices, Motorola Support
- How to use Motorola Smart Connect, Android Central
Corroborating context
For protocol background on why this failure happens, see Compatibility & Protocols.
Not currently linked to a known regression. Background on the underlying protocol lives in Compatibility & Protocols.