
Turn an old phone into a Home Assistant smart display
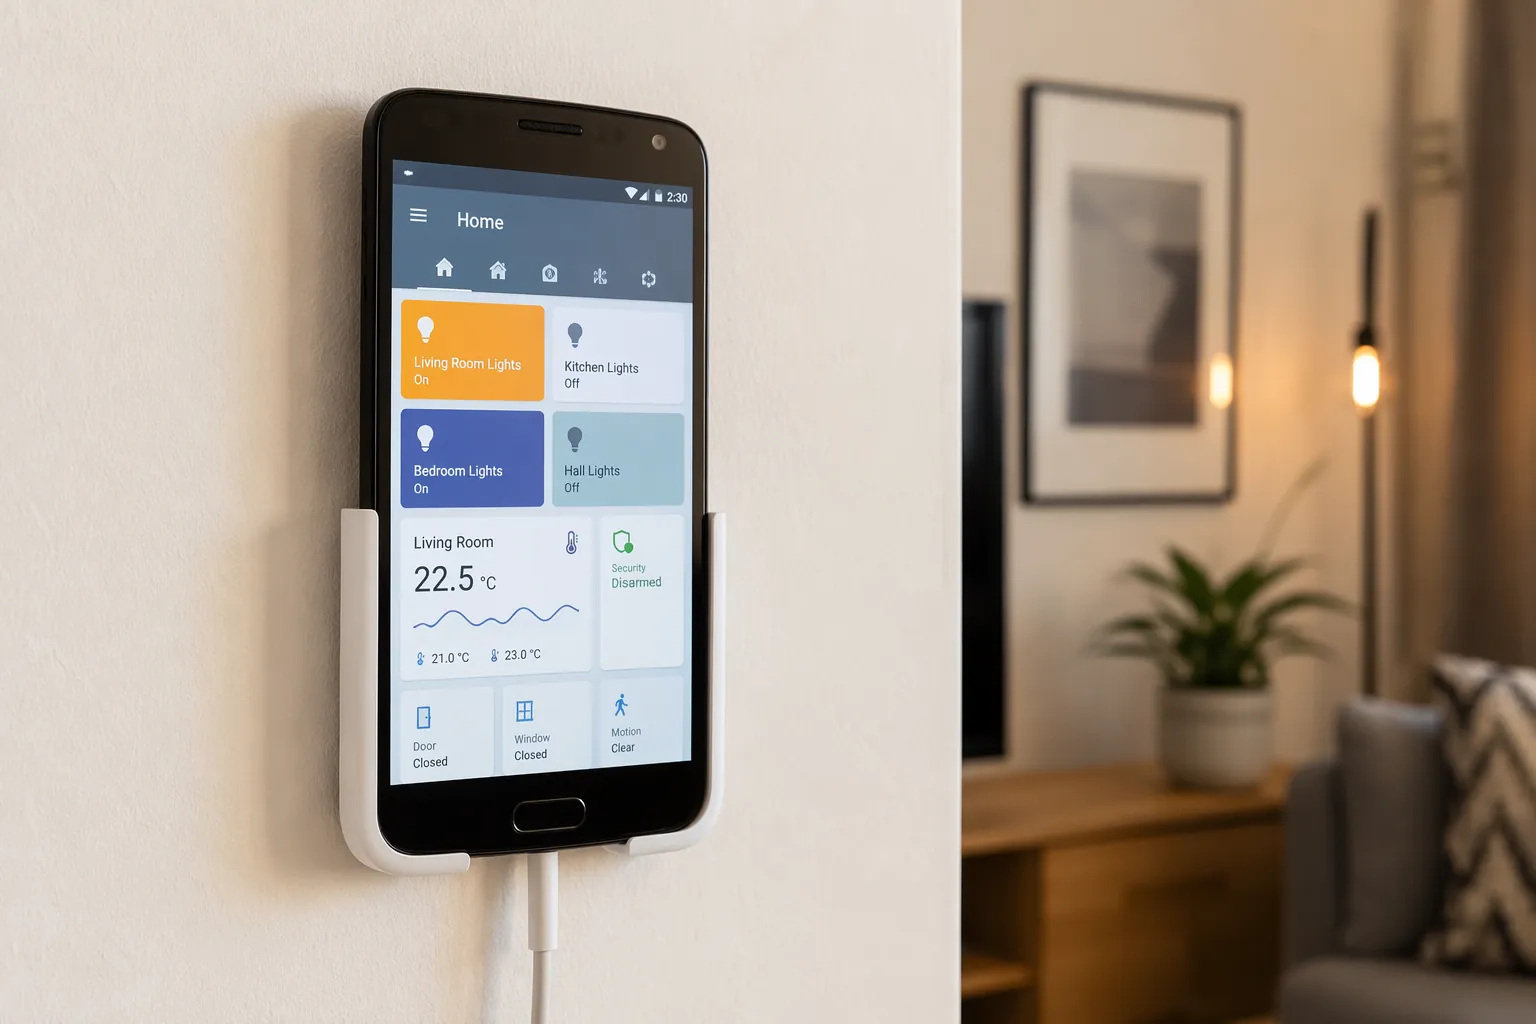
Turn an unused phone into a dedicated Home Assistant wall panel using the Companion App, Fully Kiosk Browser, or WallPanel. This guide covers setup, battery safety, and wall-mounting so you can choose the approach that fits your budget and feature needs.
The best Home Assistant wall panel may already be sitting in the drawer with the retired cases and mystery USB-C cables. An old phone has the parts a smart display needs: a screen, Wi-Fi, a processor, speakers, a camera, and enough battery to survive brief power interruptions. For a Home Assistant user, the real question is not whether you can turn an old phone into a smart display DIY project. You can. The better question is which compromise you want to live with after the first setup day: the simplest free dashboard, the strongest kiosk control, or a free open-source panel that also handles MJPEG camera streams.
For most HA setups, this is roughly a $0-$40 project if you already own the device and only need an app license, mount, cable, or charger. That is why it is so tempting. But a phone taped to a hallway wall and left at 100% charge is not a finished project. Charging behavior, battery condition, removable mounting, and update recovery matter as much as the dashboard cards.
Pick The App Before You Pick The Mount
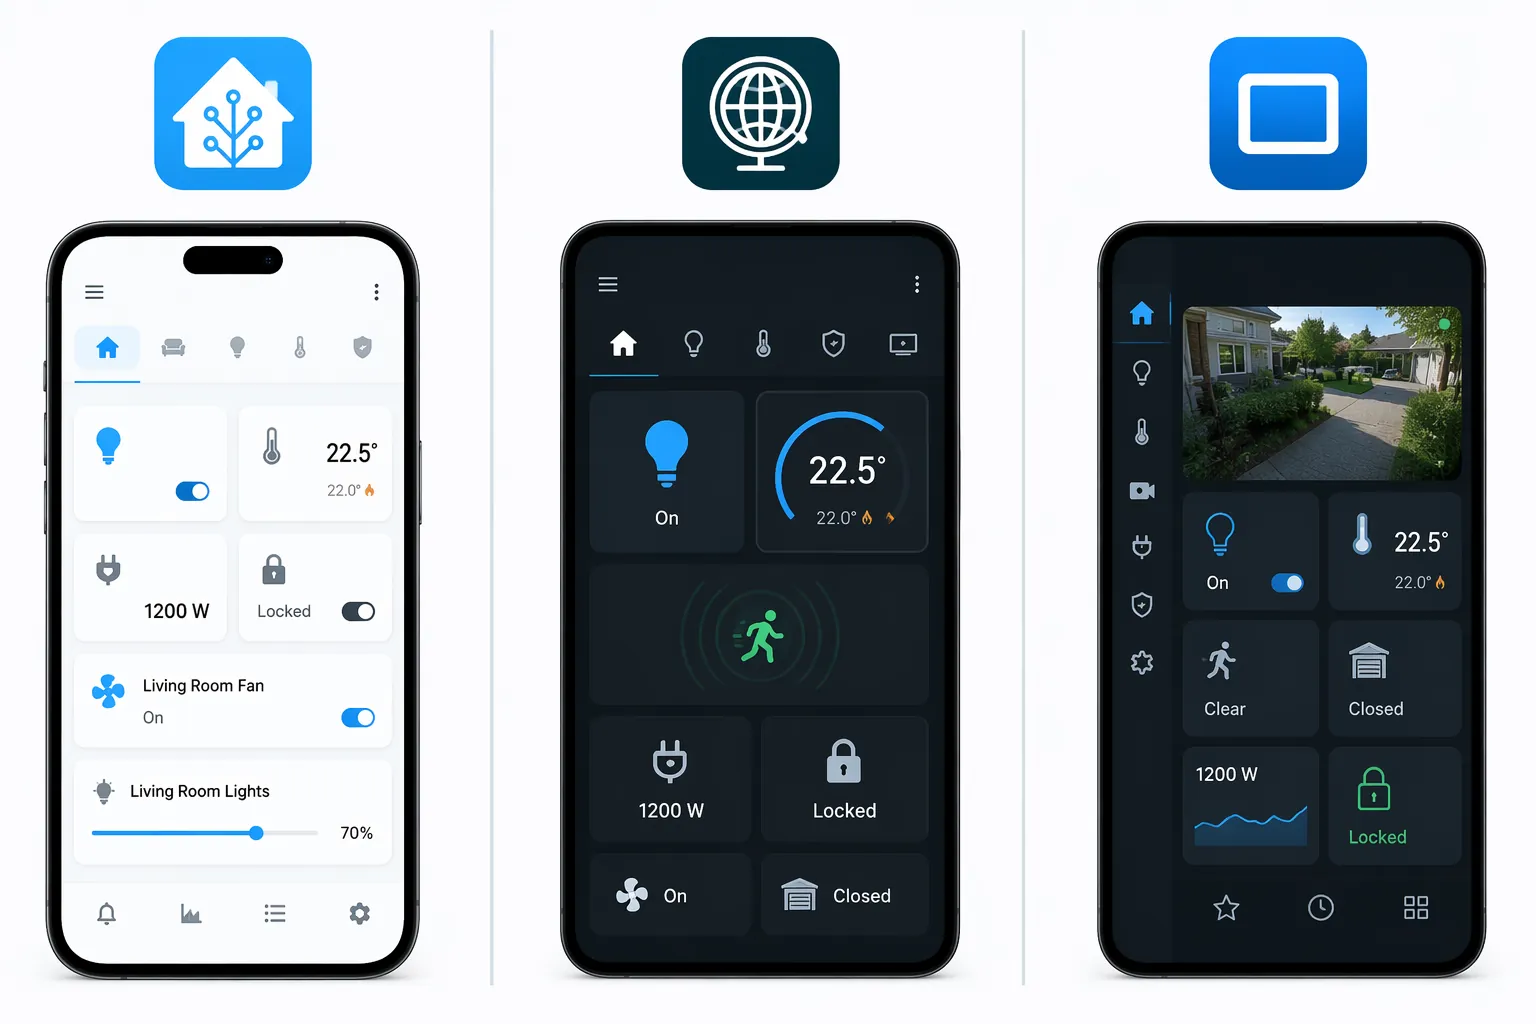
The physical build is the fun part, but the app choice decides how the panel behaves every day. A quick Home Assistant Companion App setup can be working in about 30 minutes, while a Fully Kiosk Browser setup with motion wake and wall mounting is closer to a one-hour project. Those times are not guarantees; they are useful expectations for choosing how much fiddling you want before this becomes infrastructure.
| Approach | Best fit | Tradeoff |
|---|---|---|
| Home Assistant Companion App | Fast, free HA dashboard on a phone or tablet | Least kiosk control; easier for the device to behave like a normal phone |
| Fully Kiosk Browser | A room controller that Home Assistant can wake, dim, reload, and control | Paid license and more settings to get right |
| WallPanel | Free open-source Android panel with dashboard and MJPEG camera-stream support | Less of a polished commercial kiosk layer than Fully Kiosk |
There are other ways to repurpose a phone. A non-Home Assistant route can use an Android launcher and assistant-style widgets, as HowToGeek demonstrated in a 2026 tutorial built around Square Home and Gemini rather than HA dashboards.[1] That can be useful if the house does not run Home Assistant. If it does, skipping HA usually means giving up the local dashboard, entity control, and automation hooks that make the wall panel worth maintaining.
The Full Build Path
The whole job fits into a short flow. The depth is in the decisions, not in pretending every step is equally hard.
- Choose a device with a healthy screen, stable Wi-Fi, and a battery that is not swollen.
- Choose Companion App, Fully Kiosk Browser, or WallPanel based on the behavior you need.
- Create or select a Home Assistant dashboard that works at that screen size.
- Configure wake, dimming, kiosk, and reload behavior.
- Set charging limits or a safe charging routine before permanent mounting.
- Mount it so the cable is strain-relieved, the charger remains accessible, and the device can be removed.
- Verify recovery: reboot the device, restart Home Assistant, update the app, and confirm the panel returns.
That last step catches more real problems than a prettier frame. A wall panel that needs a ladder, a pry tool, and a remembered password every time an app updates is not a finished control surface.
Device Choice: Old Phone, Android Tablet, Or iPad
An old Android phone is usually the cheapest starting point because it is already paid for and small enough to mount near a light switch, thermostat, desk, garage door, or bedside table. XDA’s 2025 desk-dashboard example used an old phone with the Home Assistant Companion App and focused on dashboard customization rather than a complicated kiosk layer.[2] That is the cleanest proof of concept: install the app, sign in, open the dashboard, and see whether the screen size is tolerable.
Tablets are better when the panel needs to show multiple rooms, camera tiles, media controls, and alarm status at once. ZDNET’s 2026 guide covered old iPad and Android tablet use as smart-home control panels, which matters because not every spare device in the house is an Android phone.[3] Dashpadd’s July 2026 Home Assistant tablet guide is especially relevant for iOS 12+ devices, where the right answer may be a browser-based or dedicated dashboard experience rather than the same Android-only kiosk stack.[4]
For a phone-sized panel, be ruthless about scope. A 5- or 6-inch screen is good for one room, a few status badges, a thermostat card, lighting scenes, and maybe one camera tile. It is not a whole-house command center unless you enjoy tiny tap targets. If the device is cracked, has obvious battery bulging, cannot stay connected to Wi-Fi, or no longer receives app updates needed by your chosen route, retire it from wall duty.
Route 1: Companion App For The Fastest Free Panel
Use the Home Assistant Companion App when you want a working dashboard today and do not need the phone to behave like a commercial room controller. This is the route for a desk stand, a charging dock in the kitchen, or a first wall-panel experiment before buying mounts and right-angle cables.
- Install the Home Assistant Companion App on the old device.
- Sign in to your Home Assistant instance.
- Create a dashboard view sized for the device instead of reusing a desktop dashboard.
- Use Android or iOS display settings to keep the screen awake as long as the operating system allows.
- Disable notifications, calls, lock-screen clutter, and anything else that makes the panel feel like someone’s old phone.
The weakness is also the charm: it is still mostly a normal mobile app. If the OS decides to dim, lock, show a system prompt, or update something at an inconvenient time, you have fewer kiosk-grade controls. For a low-stakes panel, that is acceptable. For a hallway controller that guests will use to turn on lights, it gets old quickly.
Route 2: Fully Kiosk Browser When The Panel Needs To Behave
Fully Kiosk Browser is the route I would choose for a permanent Android wall panel where reliability matters more than keeping the app stack completely free. The app’s own documentation highlights the features that matter for Home Assistant use: kiosk browsing, motion detection, MQTT, remote administration, and screen control behavior that can be driven from outside the device.[5]
The license cost is small compared with the hours people spend fighting half-working wake settings. Fully’s value is not that it displays a Lovelace dashboard; almost anything with a browser can do that. Its value is that Home Assistant can treat the panel more like a device: wake the screen when someone enters, dim it at night, reload the page after HA restarts, and expose panel state through integrations or MQTT paths that automations can use.[5]
- Install Fully Kiosk Browser on the Android device.
- Set the start URL to the Home Assistant dashboard view built for that screen.
- Enable kiosk settings that hide browser chrome, block unwanted navigation, and keep the dashboard in front.
- Configure motion wake if you want the front camera to wake the panel when someone approaches.
- Connect Fully to Home Assistant using the available integration or MQTT control path.
- Create simple recovery automations: reload the start URL after HA restarts, turn the screen off at night, and turn it back on for occupied hours.
Motion wake is the feature that often justifies Fully on a wall. An always-lit screen in a dark hallway is annoying; a screen that sleeps so aggressively that no one can use it is also annoying. Fully gives you enough control to land between those two bad outcomes. The camera-based occupancy behavior should still be tested in the actual mounting spot, because glare, height, and hallway angles can matter more than the settings page suggests.
Do not over-automate the first night. Start with screen on/off, reload, and brightness. Once those are boring, add room-based behavior. A wall controller should fail quietly: if motion wake misses someone, the screen can still be tapped; if Home Assistant restarts, the page reloads; if the app updates, the panel comes back without needing a rescue mission.
Route 3: WallPanel For Open Source And Camera Streams
WallPanel is the interesting free route for Android devices, especially when camera display is part of the job. The project describes itself as a free, open-source Android application for web-based dashboards and lists support for MJPEG streaming, motion detection, and MQTT.[6] That combination makes it more than a basic browser wrapper.
Choose WallPanel when you want a Home Assistant dashboard on Android, prefer an open-source app, and care about MJPEG camera streams enough that the camera behavior is part of the selection criteria. It is a good fit for a kitchen panel that also shows a porch feed, a garage panel that shows driveway status, or a workshop screen where a camera tile is not an afterthought.
The tradeoff is maturity and polish. WallPanel can do things a plain Companion App setup cannot, but it should not be treated as the same product category as Fully Kiosk Browser for every permanent-room-controller use case. If the panel must be centrally controlled, locked down, remotely administered, and boring for everyone else in the house, Fully is still the safer pick.
Build A Dashboard For The Device, Not For Screenshots
A dashboard that looks good on a laptop often collapses into finger-hostile clutter on a phone. Start with the place where the panel will live. A kitchen phone needs scenes, timers or media status, nearby lights, climate, and maybe door or camera status. A bedroom panel needs dim scenes, climate, alarm state, and a night mode that does not blast the room with a white card at 2 a.m.
MakeUseOf’s 2025 tablet-to-smart-home-dashboard account is useful here because it treats the tablet as a real control surface rather than a decorative screen.[7] The same logic applies harder on a phone: fewer cards, larger controls, less scrolling, and one obvious way back home if a user taps into a subview.
- Put the most-used controls in the thumb zone for the mounted orientation.
- Use status color carefully; a wall panel is glanced at more than studied.
- Avoid cards that require precise scrolling or long text labels.
- Create a recovery button or navigation path back to the main room view.
- Test from standing distance, not only while holding the device.
Battery Safety Comes Before Permanent Mounting
This is the part that turns a fun drawer-phone project into something you can leave alone. Lithium-ion batteries do not love being held at full charge indefinitely, and swollen battery risk after 1-2 years of continuous charging is an expected failure mode, not a freak event. That does not mean every wall panel is unsafe. It means charging has to be managed deliberately.

Use built-in battery protection if the device has it. Samsung devices commonly expose an 85% battery protection cap, and OnePlus devices commonly expose an 80% charging limit in manufacturer settings. Those caps are not magic, but they are exactly the kind of boring maintenance control a wall panel needs.
If the device does not have a charging cap, use an automation-friendly plug or a conservative charging schedule. The goal is not to micro-optimize battery chemistry; it is to avoid holding an old battery at 100% heat and voltage all year. A simple routine that charges during certain hours and lets the phone drift down during others is better than pretending the battery no longer matters because the device is mounted.
- Do not mount any phone or tablet with a swollen, separating, hot, or physically damaged battery.
- Use the original-quality charger or a reputable low-power charger rather than an unknown brick from the cable drawer.
- Leave enough airflow that the device is not sealed inside an insulating frame.
- Check the device physically after the first week, after the first month, and periodically after that.
- Make the mount removable so battery swelling is discovered early instead of hidden behind trim.
Battery removal and DC-DC power bypass are sometimes discussed in enthusiast spaces, but they are not a casual recommendation. Removing the internal battery, feeding the device through a converter, or modifying the power path can void warranties and create fire risk if done incorrectly. Treat that as an advanced electronics project, not a normal step in turning an old phone into a smart display.
Mount For Maintenance, Not Just For Looks
A beautiful flush mount that traps the power cable, blocks the side buttons, and requires adhesive surgery to remove the phone is worse than a plain mount that lets you service it in 30 seconds. The panel will need attention eventually. Apps update. Wi-Fi credentials change. Home Assistant dashboards move. Batteries age.
Before sticking anything to the wall, plug the device in at the proposed location for a day. Watch Wi-Fi stability. Check glare. Stand where a person naturally stands and tap the controls. Confirm the cable reaches without bending sharply at the port. If the cable must run down the wall, make it neat, but do not bury the only way to unplug the device.
- Use a mount that allows tool-free or low-effort removal.
- Prefer right-angle cables when they reduce stress on the charging port.
- Keep the charger accessible unless you are comfortable troubleshooting behind a wall plate.
- Avoid permanent adhesive directly over battery-swelling areas.
- Label the smart plug or circuit if charging is automated.
Do A Failure Test Before Calling It Done
The first dashboard load proves very little. A useful wall panel survives ordinary failures. Reboot the phone. Restart Home Assistant. Disconnect Wi-Fi briefly. Let the screen sleep and wake. Update the dashboard. If you are using Fully or WallPanel with MQTT, confirm the entities or topics still report state after the device comes back.
Also test the household version of failure: someone taps the wrong thing. In kiosk mode, can they get stuck on a login screen, settings page, camera view, or browser error? If so, add a reload action, home navigation, or timed return to the main dashboard. A wall panel should not require the one Home Assistant person in the house to rescue it every time curiosity wins.
What About ScreenWall?
ScreenWall is worth watching, but not worth building a primary room controller around yet. As of July 2026, it is beta, solo-developer, cloud-account-required, and not production-ready for mission-critical installations. That does not make it a bad project. It just makes it the wrong default recommendation for a wall panel that other people in the house will rely on.
The Recommendation
Use the Home Assistant Companion App if the goal is a fast, free dashboard and you can tolerate normal mobile-app behavior. Pay for Fully Kiosk Browser if the panel is meant to behave like a real room controller with wake, reload, screen, and Home Assistant-driven control. Use WallPanel if open-source cost and MJPEG camera support are the priority.
If you are still deciding whether to build this or buy a purpose-built display, start with NestGrid’s smart display vs. old tablet comparison. Buying a closed smart display can be cleaner. Reusing a phone can be more flexible and more satisfying, especially in a Home Assistant house. The smart part is not the screen. It is choosing the app you can live with, charging it safely, and mounting it so the person maintaining it six months from now does not hate you.
References
- How to Repurpose an Old Android Phone as a Smart Display, HowToGeek, March 2026
- I turned my old phone into a Home Assistant dashboard for my desk, XDA Developers, May 2025
- How to use an old tablet as a smart home control panel, ZDNET, April 2026
- Old Tablet Home Assistant, Dashpadd, July 2026
- Fully Kiosk Browser & App Lockdown, Fully Kiosk
- WallPanel, wallpanel.xyz
- I Turned My Old Tablet Into a Smart Home Dashboard, MakeUseOf, November 2025