
Set Up Your Smart Home for Heat Wave Temperature Alerts
This article provides step-by-step instructions for configuring your smart home to send push notifications when indoor temperatures exceed 26°C (78.8°F) during a heat wave, with tiered guides for beginners through advanced users using app-based, platform, and Home Assistant automations.
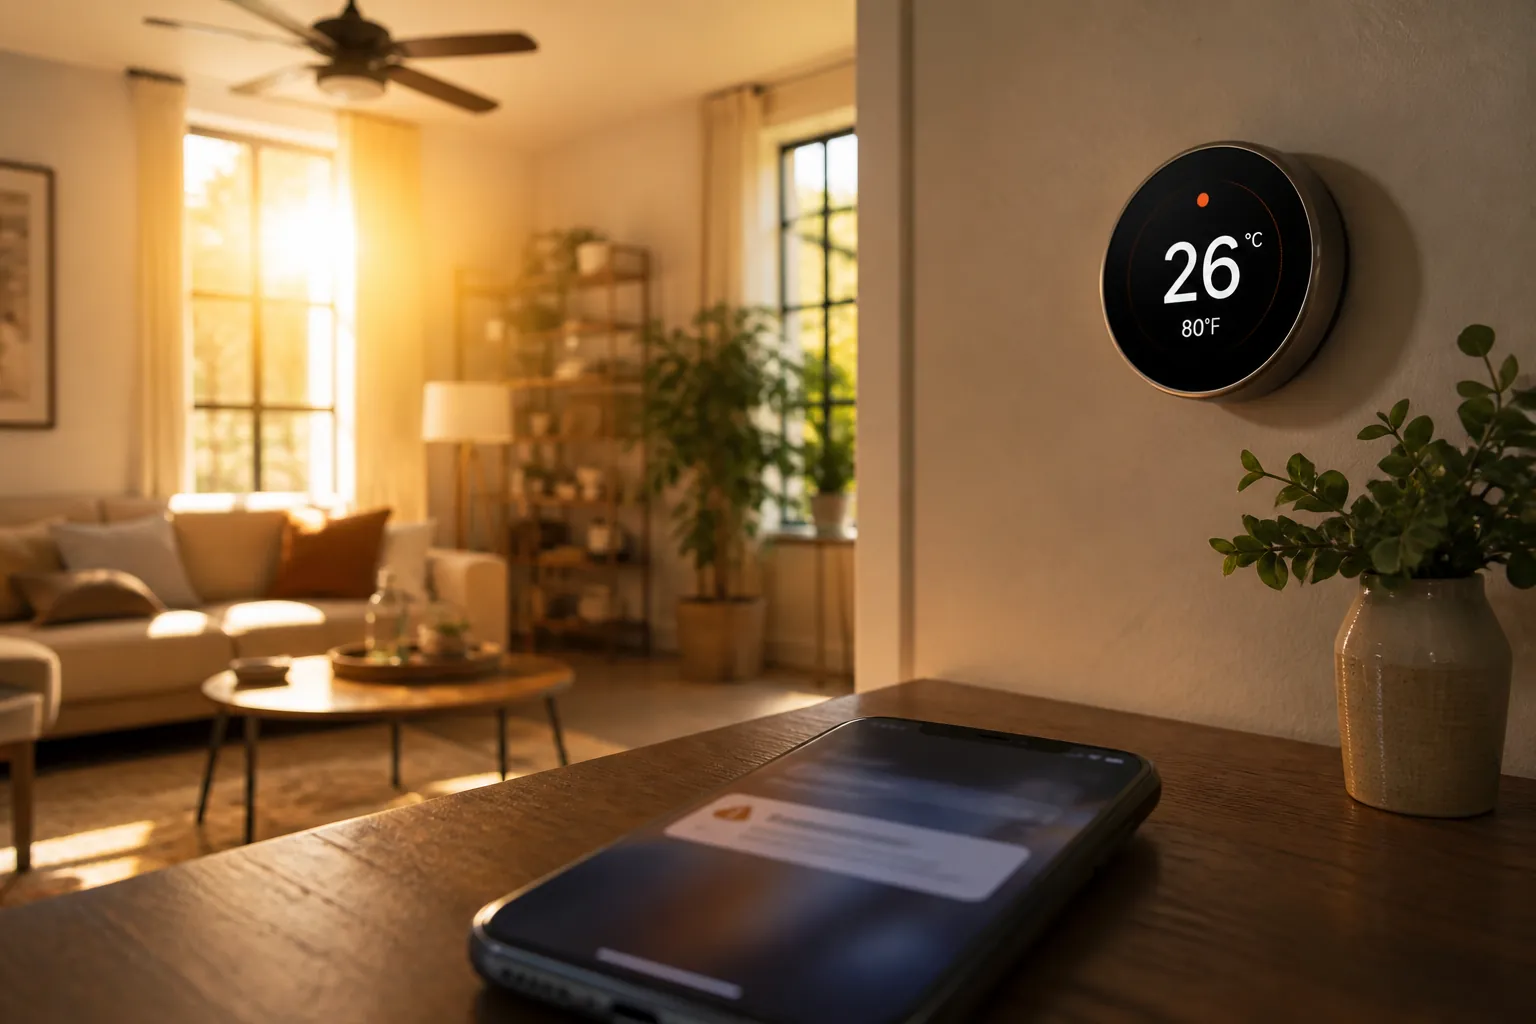
When your smart-home app asks for the temperature that should trigger a heat-wave alert, type 26°C — or 78.8°F. Health Canada’s 2026 upper indoor temperature guidance uses 26°C as the limit for protecting health, especially for older adults, with related research pointing to cardiovascular strain above that level.[1]
The whole recipe is short: pick the thermostat or sensor that can see the room, set a trigger for temperature above 26°C, send a phone push notification, test the alert, then add a delay or escalation only if your platform makes that easy. Do not wait until the indoor reading feels extreme. In a peer-reviewed trial of the Ethos system with 78 older adults and 2,346 alert events, 90% of temperature alerts led to cooling action, and heat preparedness increased 3.4 times.[2]
| Your setup | Fastest alert path | What to set |
|---|---|---|
| Smart thermostat only | Use the thermostat app’s native high-temperature alert | Notify when indoor temperature rises above 26°C / 78.8°F |
| Wi-Fi temperature sensor | Use the sensor app’s automation or smart-action menu | If temperature is above 26°C, send phone notification |
| Alexa, Google Home, SmartThings, or Apple Home | Use a platform automation | When sensor temperature crosses 26°C, notify phone |
| Home Assistant | Use a threshold trigger, delay filter, and mobile notification | Trigger above 26°C, optionally require 5–10 minutes before alerting |
That threshold is deliberately conservative. Health Canada’s guidance is strongest for older adults, not a universal proof that every healthy younger person is in danger at exactly 26°C. But for a smart-home alert, the point is not to define the last tolerable degree. The point is to send a warning early enough that someone can close blinds, move to a cooler room, start cooling, or check on a person who may not notice the risk soon enough.
Beginner: use the app you already have
If your thermostat or temperature sensor has its own app, start there. A native alert is less elegant than a full automation system, but it is also less fragile. It does not require a dashboard, a template sensor, or a weekend of troubleshooting before the next hot night.
ecobee thermostat
- Open the ecobee app.
- Select the thermostat that measures the living space you care about most.
- Open Reminders & Alerts.
- Find the high-temperature alert setting.
- Set the alert threshold to 26°C or 78.8°F.
- Confirm that push notifications are allowed for the ecobee app on your phone.
Use the room that represents where someone actually spends time, not the neatest-looking thermostat location. A University of Waterloo and Health Canada study using ecobee thermostats in 70 homes found that unsafe indoor temperatures can persist during heat waves even when outdoor conditions appear moderate.[3] That matters because a heat alert tied only to the weather forecast can miss the slow indoor buildup.
If your thermostat also controls cooling, pair this alert with practical heat-advisory settings. The alert tells you the room has crossed the line; the thermostat settings decide how aggressively the system responds. For brand-specific thermostat configuration, use How to Configure Your Smart Thermostat for a Heat Advisory.
Nest thermostat
- Open the Google Home or Nest app, depending on which app manages your thermostat.
- Open the thermostat settings.
- Find Safety Temperature or the available temperature notification setting.
- Set the high-temperature value as close to 26°C / 78.8°F as the app allows.
- Make sure phone notifications are enabled for the app.
Some apps round Fahrenheit values. If your app does not accept 78.8°F, choose 79°F rather than pushing the alert higher. If it only accepts whole Celsius values, use 26°C.
TP-Link Tapo T310
For a room without a smart thermostat, a small temperature sensor is often the cleanest beginner choice. Wirecutter’s 2026 sensor recommendations name the TP-Link Tapo T310 as a top pick and the Aqara Temperature & Humidity Sensor as a runner-up; both can be used for heat-wave alerts through their app or hub ecosystems.[4]
- Place the Tapo T310 in the room you want to monitor, away from direct sun, vents, ovens, and windows.
- Open the Tapo app.
- Open Smart Actions or automation.
- Create a new action: if the T310 temperature is above 26°C / 78.8°F, then send a notification.
- Save the automation and confirm that Tapo notifications are allowed on your phone.
Aqara Temperature & Humidity Sensor
- Pair the sensor with the required Aqara hub or compatible platform.
- Open the Aqara app.
- Go to Automation.
- Create a condition: temperature rises above 26°C / 78.8°F.
- Set the action to send a push notification.
- Save, then test from the room where the alert matters.
Be careful with Zigbee and Z-Wave sensors when buying for this job. Many are excellent sensors, but they do not magically send phone alerts by themselves. A Zigbee or Z-Wave device usually needs a hub such as Aqara, SmartThings, Hubitat, or Home Assistant, and the notification rule lives in that hub or platform.
Intermediate: let your smart-home platform send the notification
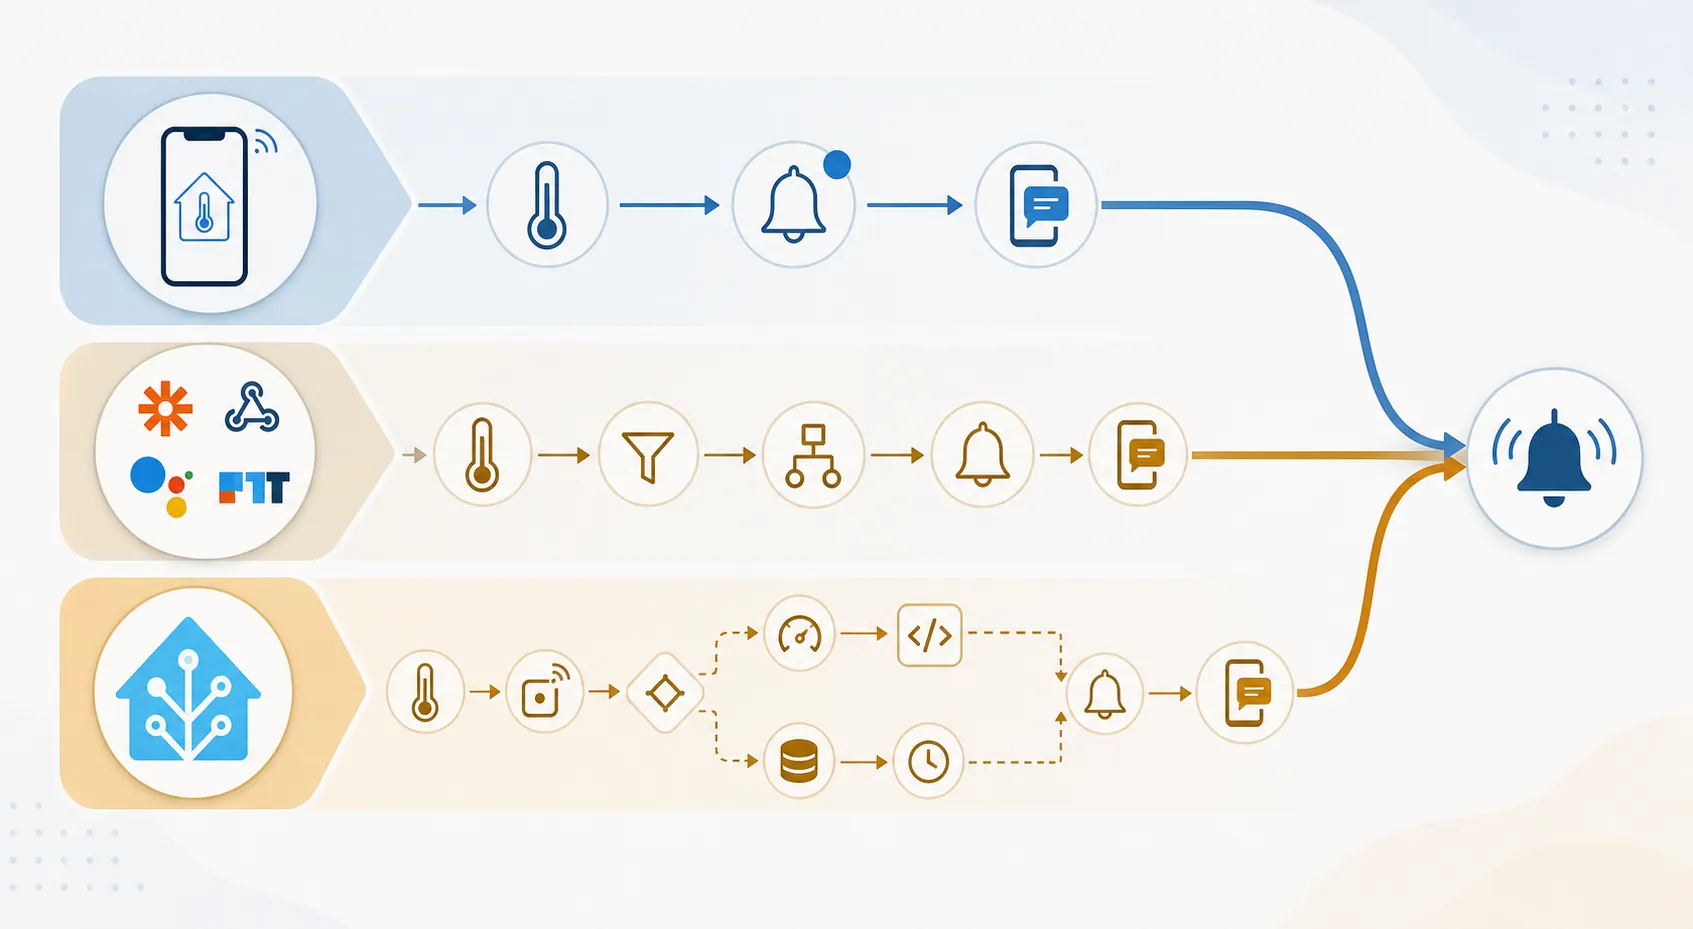
Use a platform automation when your sensor already appears in Alexa, Google Home, SmartThings, or Apple Home and you want one common alert path instead of separate device-app rules. The pattern is the same: temperature condition, 26°C threshold, phone notification action.
| Platform | Where to start | Automation pattern |
|---|---|---|
| Amazon Alexa | Routines | When a compatible temperature sensor reads above 26°C / 78.8°F, send an announcement or phone notification |
| Google Home | Automations | Starter: temperature above 26°C; action: notify phone or run a cooling routine where supported |
| SmartThings | Routines or Automations | If sensor temperature is above 26°C / 78.8°F, then notify members or run cooling actions |
| Apple Home | Home app automations or compatible shortcut path | Use a temperature sensor condition, then trigger an available notification or scene |
This tier is useful for households with more than one sensor brand. For example, a thermostat in the hallway and a separate sensor in a bedroom may both feed the same platform. Put the alert on the room where heat would create the worst consequence: an older adult’s bedroom, a nursery, an upstairs room that traps heat, or the room someone uses during the afternoon.
Do not bury the notification inside a scene that only changes lights or starts a fan. A fan can feel reassuring while making the situation less safe once air temperature is too high. The CDC warns that fans are ineffective above 90°F, or 32.2°C, and can increase body temperature by blowing hot air across the skin.[5] If the room is already above the 26°C alert threshold, the notification should prompt a real cooling decision, not just air movement.
Advanced: Home Assistant alert with delay and escalation
Home Assistant is worth using when you want a precise alert, multiple sensors, and a clear escalation path. It also adds responsibility: the automation has to survive phone changes, entity renames, Wi-Fi outages, and well-intended tinkering. Keep the first version boring and testable.
Home Assistant’s native temperature.crossed_threshold trigger supports threshold conditions such as above, below, in-range, and outside-range, with configurable duration delays.[6] For heat alerts, use above: 26 and add a short delay only to prevent nuisance alerts from a door opening, direct sun flash, or sensor spike.
alias: Heat wave indoor temperature alert
mode: single
triggers:
  - trigger: temperature.crossed_threshold
    entity_id: sensor.living_room_temperature
    above: 26
    for:
      minutes: 5
actions:
  - action: notify.mobile_app_your_phone
    data:
      title: Indoor heat alert
      message: Living room is above 26°C / 78.8°F. Close blinds, start cooling, move to a cooler room, or check on anyone at risk.
Replace sensor.living_room_temperature with your own temperature entity and notify.mobile_app_your_phone with your mobile app notification service. The five-minute delay is not there to make the automation clever. It is there so people keep trusting the alert instead of muting it after a few false triggers.
Use more than one sensor only when it changes the decision
Multi-sensor averaging can be useful in an open living area, but it can also hide the one room that is becoming unsafe. If an upstairs bedroom is the concern, alert on that bedroom. If the household spends the day in an open kitchen and living room, an average can reduce noise from one bad sensor placement.
template:
  - sensor:
      - name: Main floor average temperature
        unit_of_measurement: "°C"
        state: >
          {{ ([
            states('sensor.living_room_temperature') | float,
            states('sensor.kitchen_temperature') | float
          ] | sum / 2) | round(1) }}

automation:
  - alias: Heat wave main floor average alert
    mode: single
    triggers:
      - trigger: temperature.crossed_threshold
        entity_id: sensor.main_floor_average_temperature
        above: 26
        for:
          minutes: 10
    actions:
      - action: notify.mobile_app_your_phone
        data:
          title: Main floor heat alert
          message: Main floor average is above 26°C / 78.8°F. Start cooling or move vulnerable people to a cooler room.
Use the longer 10-minute delay for an average because the value should already be less jumpy than a single sensor. If your household includes someone at higher risk, do not stretch the delay just to make the graph prettier.
Escalate only after the first alert is real
Escalation is useful when the first notification might be missed: a caregiver is at work, a phone is on silent, or the person at home may not act. Start with one clean notification, wait, then send a second message or notify another phone if the room is still above 26°C.
alias: Heat wave alert with caregiver escalation
mode: restart
triggers:
  - trigger: temperature.crossed_threshold
    entity_id: sensor.bedroom_temperature
    above: 26
    for:
      minutes: 5
actions:
  - action: notify.mobile_app_primary_phone
    data:
      title: Bedroom heat alert
      message: Bedroom is above 26°C / 78.8°F. Please start cooling or move rooms.
  - delay:
      minutes: 20
  - condition: numeric_state
    entity_id: sensor.bedroom_temperature
    above: 26
  - action: notify.mobile_app_caregiver_phone
    data:
      title: Bedroom still above 26°C
      message: Bedroom remains above the heat alert threshold. Please check in.
Escalation should be discussed with the person receiving it. A caregiver alert is helpful when it creates a real check-in, not when it quietly turns into background noise on another phone.
Test the alert before the heat wave does
A heat alert is not finished when the rule saves. It is finished when the phone that matters receives the notification and someone knows what to do next.
- Temporarily lower the threshold to just below the current room temperature, then confirm the notification arrives.
- Put the threshold back to 26°C / 78.8°F immediately after testing.
- Check that the alert appears on the lock screen, not only inside the app.
- Confirm the sensor is in a useful room and not in direct sun, beside a vent, or near cooking heat.
- If someone else needs to act, send a test while they are holding their own phone.
- Write the response in plain language: close blinds, start cooling, move rooms, drink water if appropriate, or check on a specific person.
For homes with air conditioning, the alert should work alongside the schedule rather than replace it. Once the alert is active, pair it with a heat-wave thermostat plan that pre-cools before the hottest part of the day: How to Set Your Smart Thermostat for a Heat Wave.
At that point, the smart home has done the useful thing: it has turned indoor heat from something someone might notice too late into a phone-visible prompt at 26°C, early enough for the household to act.
References
- Guidance on upper indoor temperature limits: Protecting the health of older adults, Health Canada, June 2026.
- Ethos: A proactive internet of things system for older people living independently to improve heatwave resilience, Griffith University.
- Indoor overheating of dwellings: evidence from ecobee smart thermostats in Canada, University of Waterloo and Health Canada.
- The Best Smart Home Sensors for Alexa, Wirecutter, 2026.
- About Heat and Your Health, Centers for Disease Control and Prevention.
- Temperature crossed threshold, Home Assistant.