If you searched for “Starlink V3 home internet setup,” the kit on your floor is almost certainly the Gen 3 Standard kit: the flat Dish V4, the Gen 3 router, a kickstand, a 75 ft Starlink cable, and a power adapter. Starlink naming gets messy because the dish and router generations do not always share the same label, and newer Standard V5 references may appear in spec comparisons. For this guide, “V3” means the common Gen 3 Standard home kit with Dish V4 and the Gen 3 router, not a separate newer Standard V5 dish.
The setup itself can be quick. The part that decides whether Starlink feels impressive or disappointing is not the app screen or the WiFi name. It is where the dish can actually see the sky, how the cable gets back inside, and whether your “temporary” spot becomes the reason the connection keeps underperforming.
Before You Open The Box
Do these first if the box is still sealed, or pause here if you already pulled everything out:
- Download the Starlink app and sign in before you are standing outside with the dish.
- Use the app’s Visibility tool to scan at least two possible dish locations before powering anything on.
- Check whether the 75 ft cable can reach from the dish to the router without stretching across a walkway, door, lawn mower path, or gutter edge.
- Decide the cable route before you decide the router location.
- Treat the kickstand as a test stand unless that location has a genuinely open sky view.
- Do not climb a steep roof, tile roof, slate roof, metal roof, or multi-story roof just because the quick-start card makes the rest look easy.
The Starlink app’s obstruction scan uses your phone camera and augmented reality to estimate whether trees, rooflines, chimneys, and nearby buildings will block the dish’s view of the sky. That scan is worth doing before the kit arrives because it can change the whole installation plan: a clean 15-minute ground setup, a temporary window route, a roof mount, or a call to an installer.[1]
What Comes In The Gen 3 Standard Kit
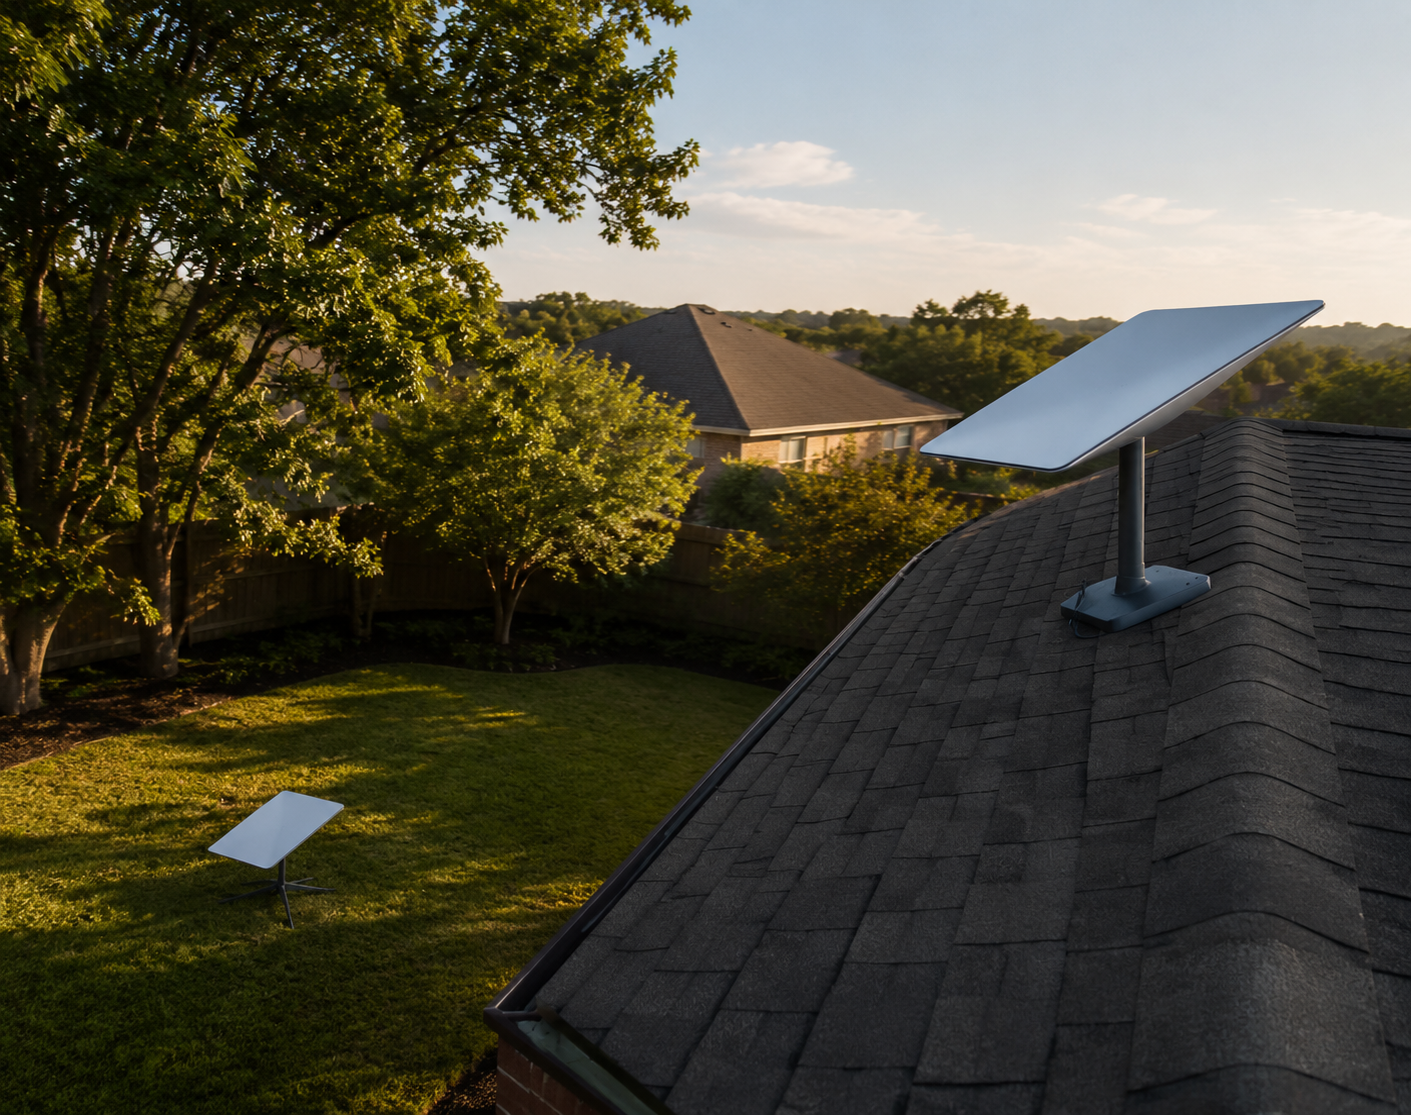
The Gen 3 Standard kit usually includes the Dish V4, also described in some sources as Standard 4X, the Gen 3 router, a kickstand, a 75 ft cable, and the power adapter. The Gen 3 router is a WiFi 6 tri-band router, and Starlink-related setup sources describe the router coverage claim as up to 3,200 sq ft under favorable conditions.[1][2]
Two hardware details matter during setup. First, the Gen 3 dish does not motor itself into position like older actuated models. Second, the cable is permanently attached at the dish end and uses a standard RJ45-style connector at the router end, so the router side is the end you route through a window, soffit, attic, or wall opening.[1]
| Part | Setup detail that matters |
|---|---|
| Dish V4 / Standard 4X | Flat non-motorized dish; placement and tilt are set by you. |
| Kickstand | Good for testing and some open-ground installs; not a substitute for a clear sky view. |
| 75 ft cable | Long enough for many homes, but the route often matters more than the raw length. |
| Gen 3 router | Creates the home WiFi network; can be bypassed if you use your own router or mesh. |
| Power adapter | Keep indoors and protected; do not build the install around an outdoor power brick location. |
Pick The Dish Location Before You Plug In
This is the step to slow down for. A Starlink dish can be physically connected in minutes, but a half-blocked sky can turn the rest of the setup into troubleshooting theater. The dish needs a broad, clean view, not just a pretty patch of blue directly overhead.
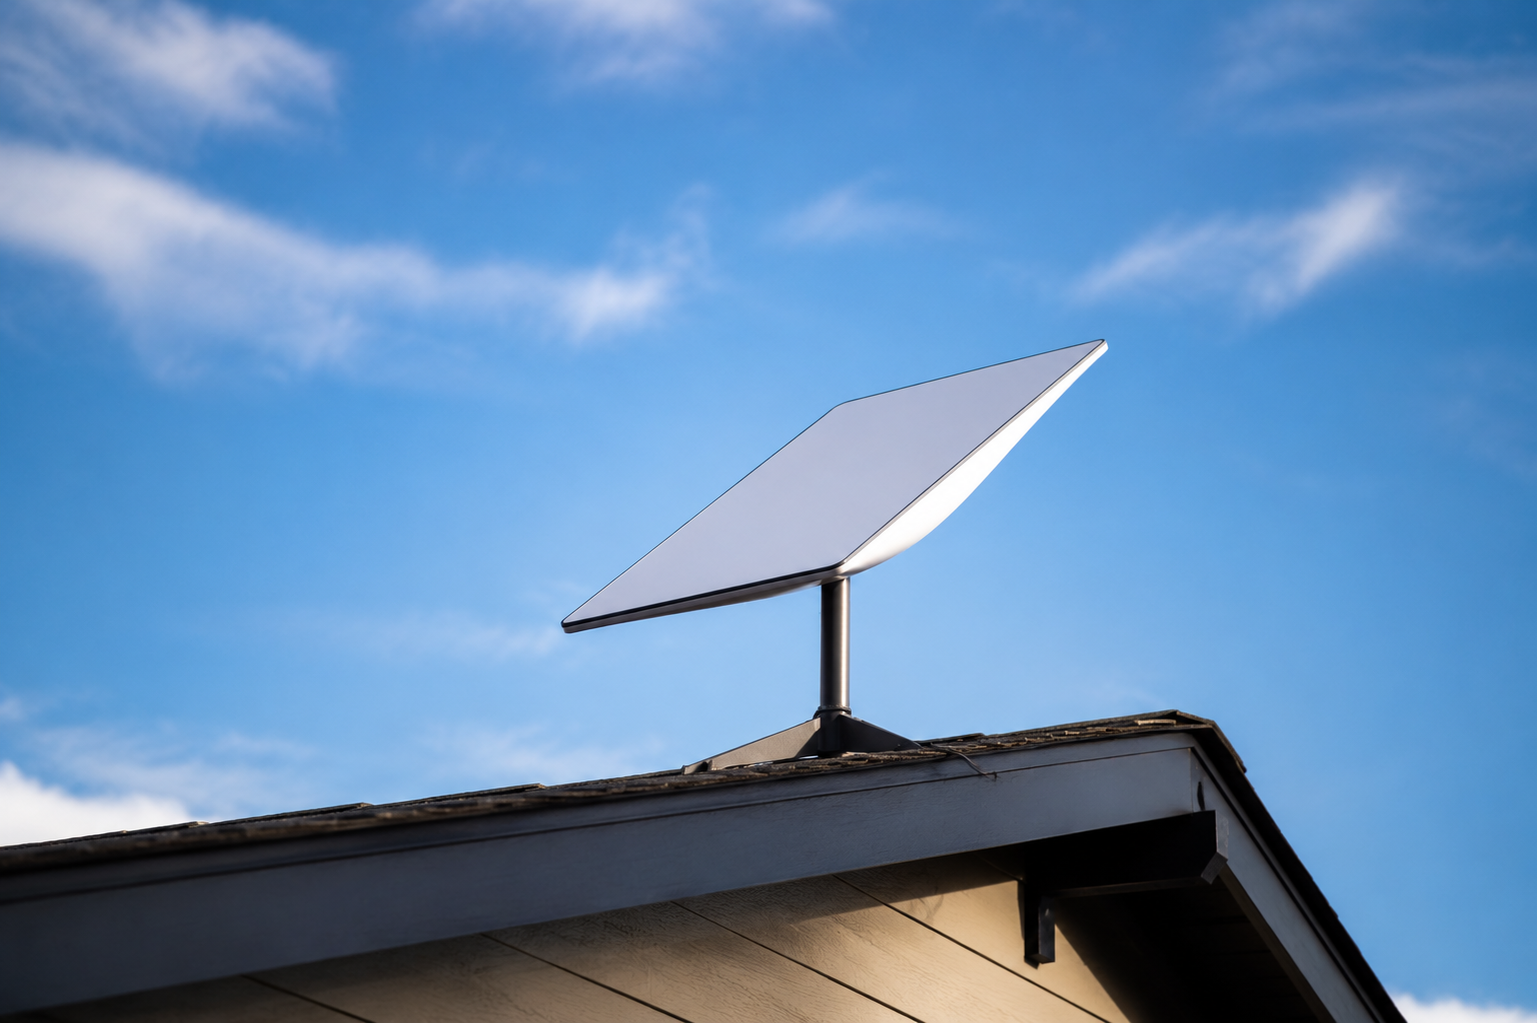
A useful placement order is roof peak first, open ground second, and elevated deck or similar structure third, assuming each option is safe and the cable can reach. Roof peaks usually win because they clear fences, branches, chimneys, nearby sheds, and the neighbor’s second story. Open ground can work beautifully in a rural yard or wide clearing. Decks are convenient, but railings, overhangs, nearby trees, and house walls can still cut into the sky view.
One firsthand PCWorld installation is a good warning, not a promise: a ground-level kickstand placement near obstructions produced about 50 Mbps, while a professional roof mount at the same property later approached 200 Mbps. That does not mean every roof install gets 200 Mbps, and it does not mean every ground install is bad. It means placement can easily matter more than any setting you change after the router is online.[3]
Use The Visibility Tool Like A Cable Installer, Not Like A Photographer
When you scan a location in the Starlink app, stand where the dish will actually sit. If the dish would be on a roof ridge, a scan from the patio is only a rough clue. If the dish would be on the ground beside the garage, scan beside the garage, not in the middle of the driveway.
Watch for the boring obstructions. The obvious tree is not the only problem. A chimney, roof dormer, nearby building, pergola, utility pole, or upper-floor wall can matter because the Gen 3 dish uses a phased-array antenna with a 110-degree field of view. The app can guide the approximate tilt, often discussed as roughly 15 to 25 degrees depending on latitude, but the dish will not physically track around after you set it down.[4]
For a temporary test, the kickstand is fine if the app shows a clean enough sky and the cable route is safe. It is not fine if everyone is already stepping over the cable, the dish is close to branches, or the scan shows obstructions that you plan to “see how it handles.” Starlink may still connect from a compromised spot, which is exactly why bad temporary placements linger.
When A Mount Becomes The Real Setup
A mount is justified when the best signal location and the safe temporary location are not the same place. Roof ridges, eaves, fascia boards, poles, and wall mounts can all solve different problems, but the choice should come after the obstruction scan and cable route, not before. The common mistake is buying a mount that looks tidy and then discovering it puts the dish under the same tree canopy.
Professional installation starts making sense when the safe location is a steep roof, a roof with tile, slate, or metal materials, a multi-story roofline, or a cable path through finished walls. Setup guides and mounting references put many professional installs in the $100 to $300 range, but the better way to think about that cost is whether it avoids a fall, a leak, or a cable route you later hate.[1][5]
Plan The Cable Route
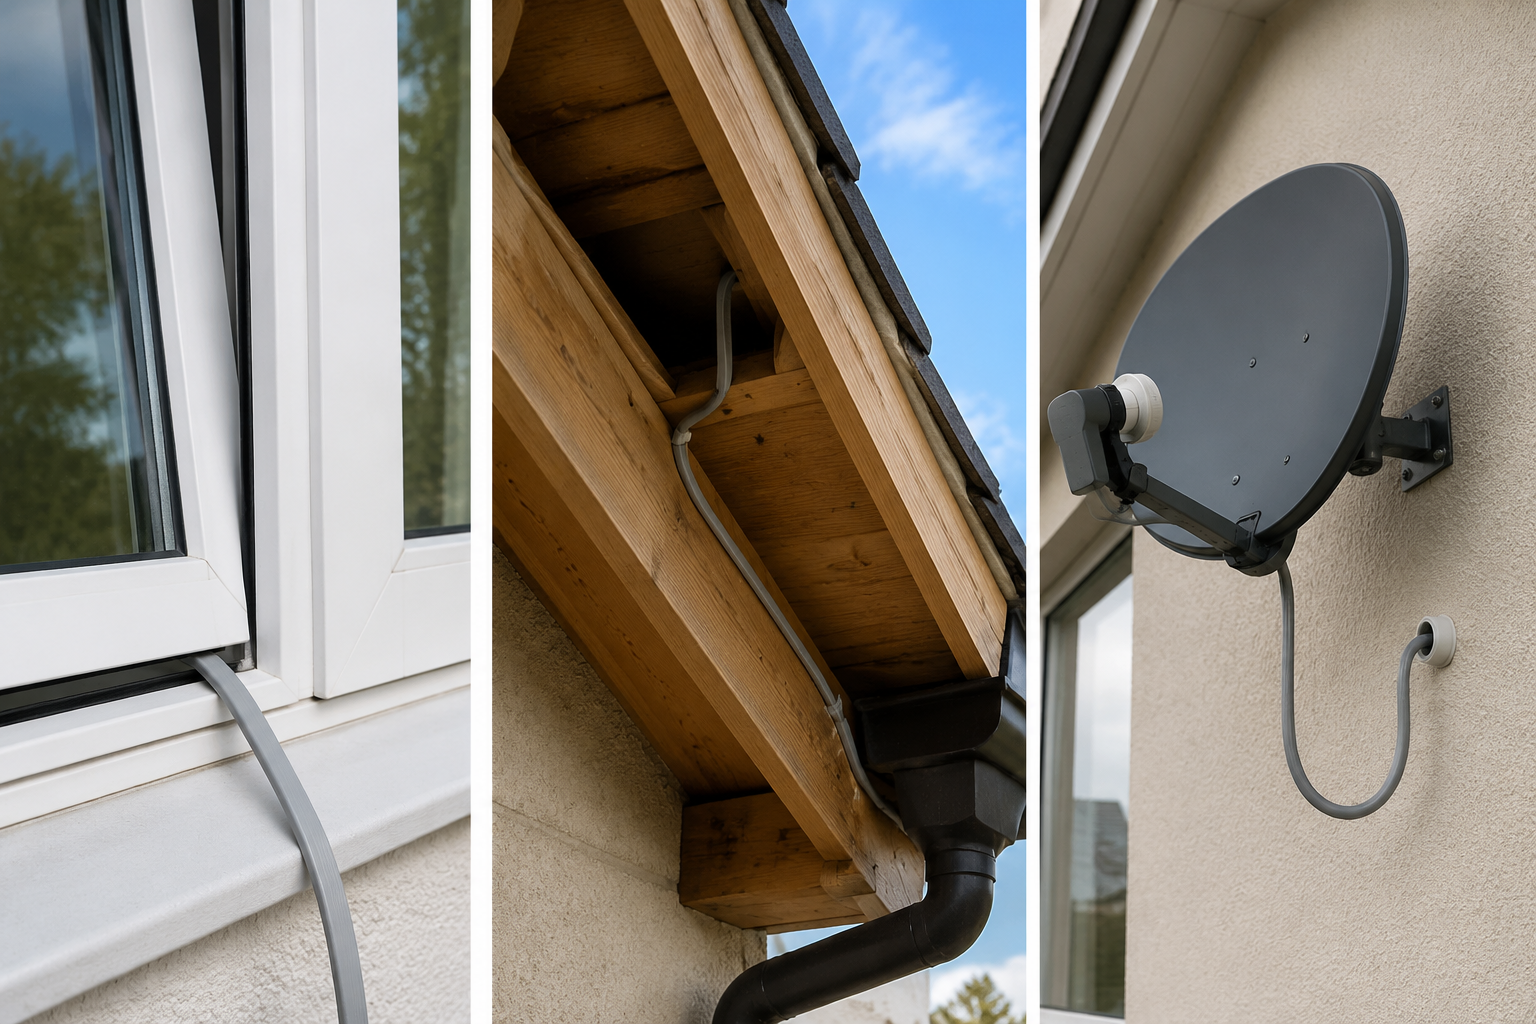
The cable route is where a simple Starlink V3 home internet setup becomes either a clean home install or a weekend of rework. The 75 ft cable is generous for many homes, but it gets shorter fast when you go up a wall, around an eave, into a utility room, and over to the router location. Do a dry route before feeding the connector anywhere tight.
| Route | Best use | Main caution |
|---|---|---|
| Window pass-through | Fastest temporary setup or same-day testing | Do not crush the cable, leave the window unsecured, or create a trip hazard. |
| Soffit or attic route | Cleaner semi-permanent install when access is reasonable | Avoid sharp bends, hot attic hazards, and loose cable near gutters or branches. |
| Wall penetration | Permanent route to a utility room or indoor router location | Seal against water, use a drip loop, and avoid hidden electrical or plumbing runs. |
| Longer official cable | Dish location is correct but 75 ft does not reach cleanly | Do not choose a worse dish location just to avoid buying the right cable. |
Window routing is the fastest way to prove the service works. It is also the easiest way to forget that the cable is being pinched every time someone closes the window. If you use a window route for the first day, treat it as a test unless the window can close without crushing the cable and the cable is protected from foot traffic, pets, and weather.
A soffit or attic path is often the sensible middle ground. It keeps the cable off the lawn and out of the window while avoiding a visible wall penetration in the living space. It still needs care: no tight staples, no hard kinks, no cable rubbing against a sharp metal edge, and no path that leaves the connector exposed to standing water.
If you drill through an exterior wall, the hole is now part of the weatherproofing of the house. Seal it properly and leave a drip loop outside, meaning the cable dips below the entry point before it turns back up into the wall. That small U-shape gives water a lower point to fall from instead of following the cable into the opening. Mounting references also note that Starlink offers an official 150 ft cable, listed at $89 in the cited guide, for longer runs.[5]
Set The Dish And Connect The Router
Once the location and cable route are chosen, the hardware part is straightforward.
- Set the dish on the kickstand or attach it to the chosen mount.
- Aim or tilt it as instructed by the Starlink app for your location.
- Route the free router end of the cable back indoors to the router location.
- Connect the cable to the Gen 3 router.
- Connect the router to the power adapter and plug it into indoor power.
- Wait for the system to boot, update if needed, and acquire satellites.
Boot-to-online time is commonly described as roughly 2 to 15 minutes, depending on satellite acquisition and whether the kit needs firmware updates. If the app says it is searching or updating during that window, that is not automatically a problem.[4]
Because the Gen 3 dish uses electronic beam steering rather than motors, do not wait for it to rotate or hunt around. If it is sitting still, that is normal. What matters is what the app reports: online status, obstruction results, and stability after it has had time to settle.[4]
Create The WiFi Network
After the router starts broadcasting, connect to the default Starlink WiFi network. The default name is commonly shown as “STARLINK,” and the app walks you through changing the network name and password.[2]
Put the router where WiFi can actually move through the house. A central room is better than a basement corner, metal utility cabinet, or far end of the house just because that is where the cable first enters. The Gen 3 router’s up-to-3,200 sq ft coverage claim is useful as a rough ceiling, not a guarantee for brick, plaster, foil-backed insulation, long ranch layouts, or multiple floors.[2]
DISHYtech’s Gen 3 router testing found a much stronger 50 ft result than the Gen 2 router, reporting 203 Mbps versus 47 Mbps in that comparison. That is a router benchmark, not a promise that your outer bedroom, detached office, or upstairs camera will get the same number.[2]
If your house already needs mesh WiFi, Starlink does not magically change the walls. The Gen 3 router supports bypass mode, which lets users place Starlink behind their own router or mesh system. Use that when the satellite link is good but the WiFi coverage inside the house is not.
Check Whether The Install Is Actually Good
The first successful phone connection is not the finish line. It only proves the router is broadcasting and the system can get online. A good install should pass four checks.
- The Starlink app shows the dish online and does not keep reporting avoidable obstructions.
- The cable is not pinched, stretched, lying across a walkway, or exposed to water entry at the wall.
- Speed and latency are in a sensible range for your plan, location, and time of day.
- WiFi reaches the rooms and devices that actually matter, not just the room with the router.
For residential users, cited 2026 expectation-setting sources describe latency commonly around 20 to 60 ms and downloads often in the 100 to 200 Mbps range, depending on plan tier, time of day, local congestion, and location. PCWorld’s rural test landed near the high end after the dish was mounted clearly, but that was one installation, not a universal performance floor.[3][6]
If you see roughly 50 Mbps from a ground spot with visible trees or nearby structures, the next useful move is usually not renaming WiFi, rebooting the router, or buying a new laptop. Re-scan the sky and test a better dish location if you can do so safely.
Give The First Day Some Room
Do not judge the final installation by the first speed test in the first hour. Many users and third-party testers report that speeds improve after roughly 12 to 24 hours as the system downloads satellite ephemeris data and finishes beam-steering calibration. Reports commonly describe a 30 to 50 percent improvement, but this is not an official guarantee and should not be used to excuse a clearly obstructed placement.[3][4]
A fair first-day routine is simple: confirm the app shows online status, run a few speed tests at different times, test the rooms where people actually work or stream, and then check the obstruction view again after the dish has collected more data. If the app keeps pointing to obstructions, waiting another day will not move the tree.
Also separate local setup problems from network events outside your control. Starlink has had broader outages, and a good home installation cannot fix a service-side interruption. If the dish had been stable, the app shows a wider service issue, and your cable and power are unchanged, do not start drilling new holes in the house just because the internet went down once.[3]
When To Move, Mount, Extend, Or Bypass
After the first day, the right fix depends on where the weakness shows up.
| Symptom | Likely next move |
|---|---|
| The app reports obstructions or service drops when trees or structures are in view. | Move the dish or use a higher mount before changing router settings. |
| The best dish location is out of reach of the 75 ft cable. | Use the official longer cable rather than accepting a worse sky view. |
| The satellite link is stable but far rooms have weak WiFi. | Reposition the router or use bypass mode with your own router or mesh. |
| The only good dish location is a steep, fragile, or multi-story roof. | Hire an installer instead of treating roof work as part of a normal quick setup. |
| Speeds are low only during busy hours, while placement and WiFi look good. | Consider plan limits, local congestion, and time of day before rebuilding the install. |
Pricing and plan names can change, and promotional offers may expire. PCMag’s 2026 pricing guide describes plan differences including higher-priority residential options, but those details should be checked at the time you order or change service because regional availability and promotions vary.[6]
A Starlink Gen 3 setup is in good shape when the dish has an obstruction-free view, the cable route could survive weather and daily life, the app stays online, speeds and latency make sense for your area and plan, and the router covers the house well enough for the devices people actually use. If one of those pieces is weak, fix that piece directly. Most failed installs are not mysterious; they are just a dish in the wrong spot, a cable taking the wrong path, or a router being asked to cover a house the way a spec sheet covers a showroom.
References
- Starlink Setup Guide, US Mobile, 2026
- Starlink Gen 3 Router Review, DISHYtech
- I wish I knew these key details first, PCWorld
- Standard vs Standard Actuated: Starlink Hardware Options Explained, DISHYtech
- Starlink Mounting Options: A Guide to Official and 3rd Party Mounts, DISHYtech
- How Much Does Starlink Cost in 2026?, PCMag
Community Tips
Share platform-specific variations, steps that have changed after app updates, or tips that helped your installation succeed.
Comments
Join the discussion with an anonymous comment.