
Turn Your Mac mini M6 Into a Smart Home Hub
Turn a Mac mini M6 into a smart home hub with three verified, skill-tiered paths: Homebridge on macOS, Home Assistant OS in a UTM VM, and a containerized Home Assistant stack via OrbStack. Each path covers keep-alive settings and a dated verification checklist, and the guide leads with the compatibility truth that macOS can never act as an Apple Home hub.
A Mac mini M6 can be a very good smart-home server. It can host Homebridge. It can run Home Assistant OS in a virtual machine. It can run a containerized Home Assistant stack. What it cannot do is become an Apple Home hub inside the Home app. Apple’s qualifying home hubs are HomePod mini, HomePod, and Apple TV; macOS does not have a home-hub role there.[1]
That distinction matters before you buy anything or spend a Saturday wiring services together. If your goal is remote access, automations, and Matter/Thread support through Apple Home itself, you still need a qualifying Apple device. If your goal is to keep a quiet Mac mini online as the machine that runs bridges, automations, dashboards, add-ons, and integrations, the Mac mini is exactly the sort of box that makes sense — provided you choose the right software path and make it survive reboots, sleep, and normal network interruptions.
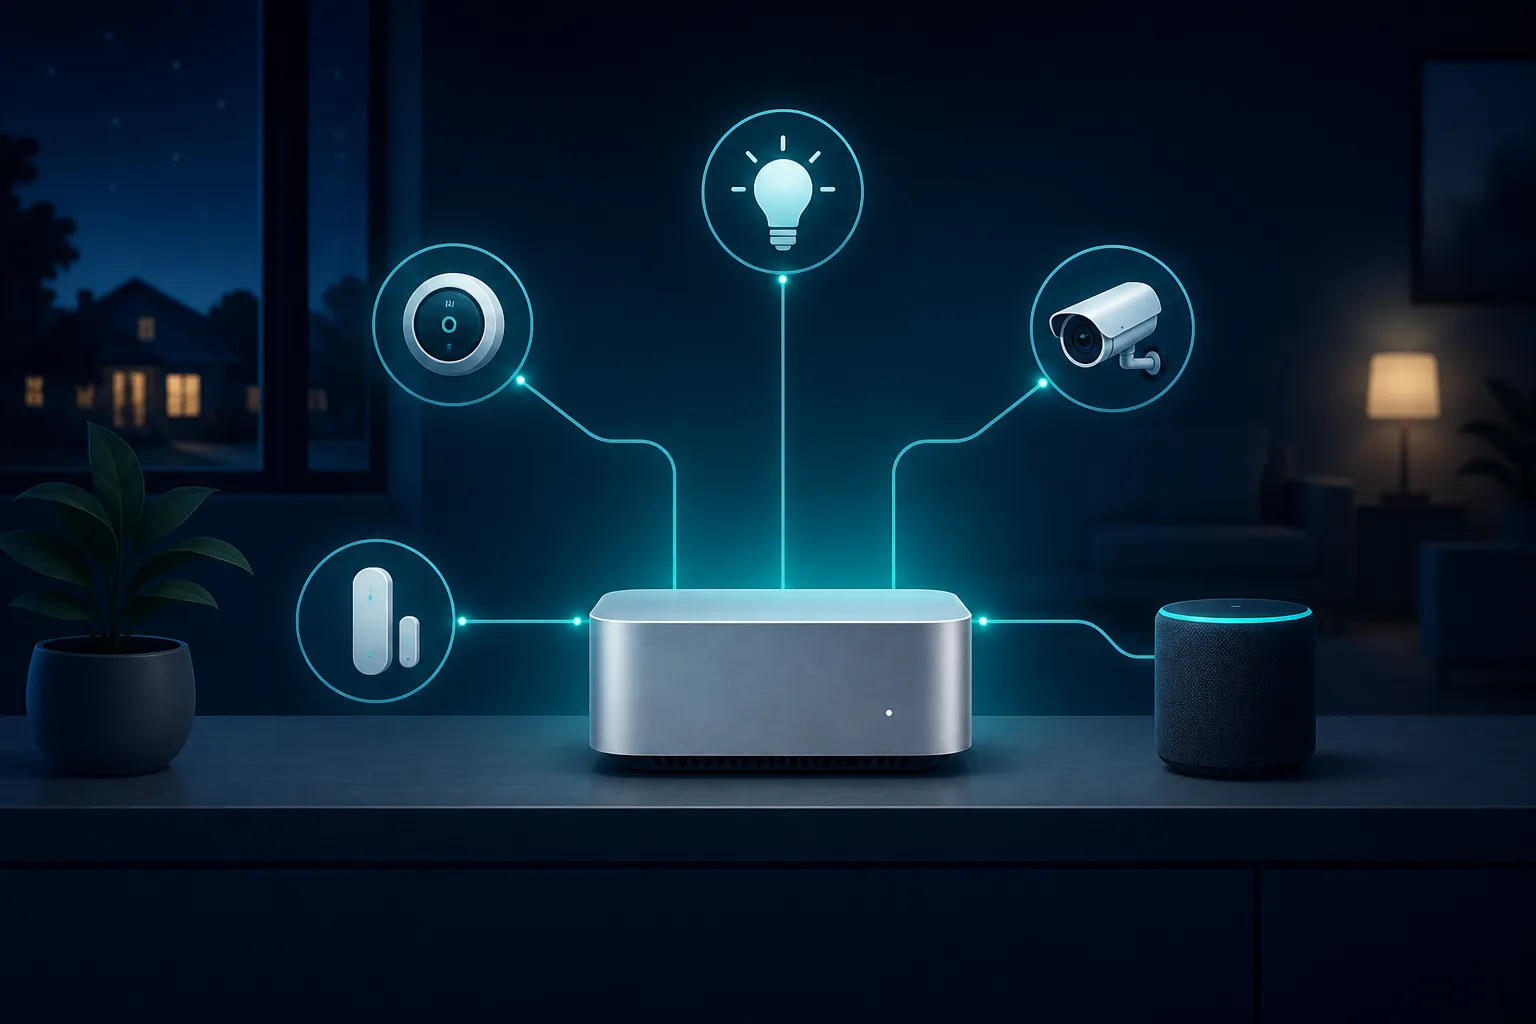
Choose the role before you install anything
The phrase “smart home hub” gets used for three different jobs. Sometimes it means an Apple Home hub. Sometimes it means a bridge that makes non-HomeKit devices appear in Apple Home. Sometimes it means a local automation server that becomes the brain of the house. A Mac mini can do the second and third jobs. It cannot do the first.
| If you want… | Use this path | Best fit | What the Mac mini is doing |
|---|---|---|---|
| Apple Home remains your main app, and you mainly want to expose extra devices to it | Homebridge on macOS | Beginner / Apple-centric home | Running bridge plugins as a macOS service |
| A fuller local smart-home system with its own automations, dashboards, add-ons, and integrations | Home Assistant OS in a UTM virtual machine | Curious DIY user who wants the full hub experience | Running a dedicated Home Assistant machine inside macOS |
| A more controlled, container-based stack you can inspect, back up, and modify | Home Assistant containers through OrbStack | Power user | Running Home Assistant and companion services as containers |
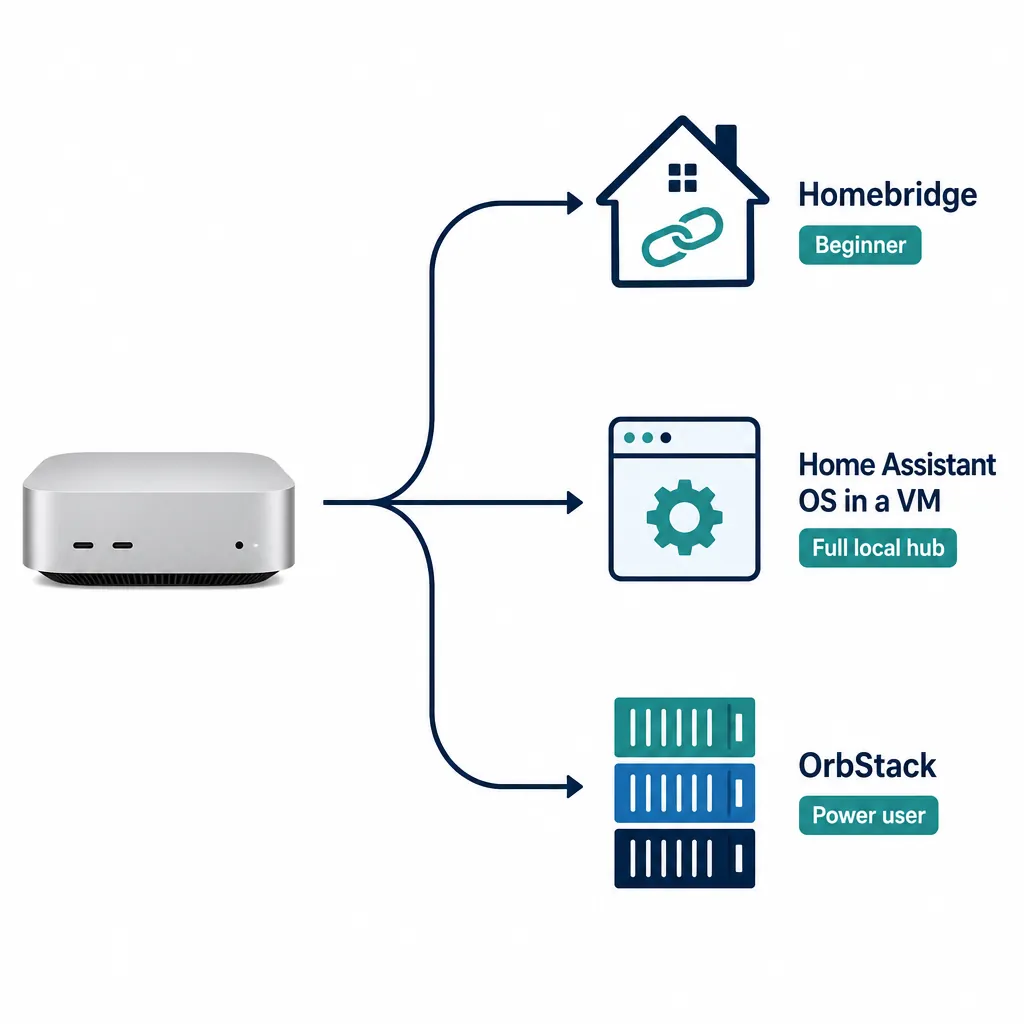
If you are new to this, resist the urge to pick the most powerful-looking option. The best setup is the one you can verify after a reboot without remembering a fragile chain of terminal commands. Homebridge is the shortest route when Apple Home is still the center of gravity. Home Assistant OS in a VM is the most complete local-hub route. OrbStack is neat and flexible, but it assumes you already understand why containers are useful and what can go wrong when a persistent service is treated like a temporary development process.
Before any path: prepare the Mac mini to stay awake
A smart-home host has one boring job before all others: it has to be reachable when the house needs it. Do this setup with the Mac mini connected to reliable power and, ideally, Ethernet. Wi-Fi can work, but a hub that disappears during router roaming, interference, or a marginal signal is not much of a hub.
- Open System Settings.
- Go to Lock Screen and set display sleep however you prefer. Display sleep is fine.
- Go to Battery or Energy settings, depending on the macOS layout on your machine.
- Disable automatic computer sleep when possible, and enable any available option that allows network access while asleep.
- If the Mac mini is tucked away headless, confirm you can still reach it with Screen Sharing, SSH, or your normal remote-management method before relying on it.
The exact label names can move between macOS releases, but the principle does not: the display may sleep; the computer hosting your hub should not quietly suspend the process that answers automations.
Path 1: Homebridge on macOS for an Apple-centric home
Pick Homebridge if Apple Home is still the interface everyone in the house uses and your main problem is device compatibility. In this path, the Mac mini is not the Apple Home hub. It is a bridge host. Homebridge runs on macOS, loads plugins, and presents compatible bridged accessories to Apple Home.
Install Homebridge
The clean beginner route is to use the official-style Homebridge macOS flow: install the required runtime, install Homebridge and its UI, then run it as a service rather than leaving it attached to an open terminal window. The service part is not decoration; it is the difference between “it worked during setup” and “it came back after the Mac restarted.”
# Install Homebridge and the Homebridge UI globally
sudo npm install -g homebridge homebridge-config-ui-x

# Install Homebridge as a macOS service
sudo hb-service install
After installation, open the Homebridge web UI in a browser using the local address shown by the installer. Add plugins slowly. One plugin that you can verify is better than six plugins you half-trust. When Homebridge gives you a pairing QR code or setup code, add it in the Apple Home app as a bridge.
Make Homebridge survive normal use
- Confirm Homebridge is installed as a service, not just started manually.
- Keep the Mac mini awake for network access.
- Use a stable IP address or DHCP reservation so integrations and dashboards do not chase a moving target.
- Install one plugin at a time and test it before adding the next.
- Back up the Homebridge configuration after the first known-good setup.
The most common self-inflicted wound here is launching Homebridge from Terminal, seeing accessories appear, and assuming the machine is done. Close the terminal, log out, restart, or let macOS sleep too aggressively, and the bridge can disappear. A smart-home service should be boringly present without you babysitting a shell session.
Verify Homebridge after reboot
- Restart the Mac mini.
- Do not open Terminal.
- Open the Homebridge web UI from another device.
- Open Apple Home and toggle a bridged accessory.
- Check Homebridge logs for plugin errors before adding more devices.
Path 2: Home Assistant OS in UTM for the full local hub experience
Choose this route if you want the Mac mini to host a real local automation platform instead of only bridging accessories into Apple Home. Home Assistant OS in a VM gives Home Assistant its own appliance-like environment while the Mac mini remains the physical always-on host.
This is the path that deserves the most patience. You are no longer installing one macOS service. You are creating a virtual machine, giving it storage and network access, making sure it starts automatically, and treating it like a small server that happens to live inside a Mac.
Create the VM
- Install UTM on the Mac mini.
- Download the Home Assistant OS image intended for virtual-machine use.
- Create a new virtual machine in UTM and point it at the Home Assistant OS image.
- Give the VM enough CPU, memory, and storage for the number of integrations and add-ons you expect. Avoid starving macOS, because the host still has to stay stable.
- Use bridged networking if your network and UTM configuration allow it. If you choose shared networking, be prepared to handle discovery and access differences.
- Start the VM and wait for Home Assistant to finish its first boot.
- Open Home Assistant from a browser on the same network and complete onboarding.
Networking is where this route either feels clean or becomes a long evening. For smart-home discovery, the VM needs to be visible to the devices and apps that expect to find it on the local network. If a phone, smart speaker, or integration cannot discover Home Assistant, do not immediately blame Home Assistant. Check whether the VM is actually on the same network segment and whether UTM’s network mode is hiding it behind the host.
Make the VM start like infrastructure, not an app
A VM that requires you to log into the Mac, open UTM, select the machine, and press Start is not finished. It is a demo. Before trusting automations to it, configure UTM and macOS so the VM starts automatically after a reboot or login, then test that behavior while you are not in a hurry.
- Add UTM to Login Items if your chosen startup method depends on a user session.
- Enable the VM’s automatic start behavior if available in your UTM setup.
- Keep the Mac mini logged into the service account you intend to use, or confirm the VM starts without a visible desktop session if you configure it that way.
- Document where the VM file is stored and include it in your backup plan.
- Avoid storing the VM on removable storage unless you are prepared for what happens when that drive disconnects.
This route can feel almost too easy once Home Assistant appears in the browser. The real test is power-cycle behavior. Restart the Mac mini. Wait. Then check whether Home Assistant returned without a manual rescue operation.
Verify Home Assistant OS after reboot
- Restart the Mac mini from the Apple menu.
- Do not manually open UTM during the first test.
- From another device, open the Home Assistant address you expect to use every day.
- Confirm the VM is running in UTM.
- Trigger one local automation or toggle one known device.
- Check Home Assistant settings for warnings before adding more integrations.
Path 3: OrbStack containers for users who want control
Choose the OrbStack route if containers are already part of how you like to run services. This is not the friendliest first Home Assistant path, because containerized setups make you responsible for persistence, updates, networking, and companion services. That responsibility is the point for the right user.
In this model, the Mac mini hosts OrbStack, OrbStack runs the container engine, and Home Assistant lives in a persistent container with a mounted configuration directory. If the configuration directory is disposable, your smart home is disposable. Put it somewhere intentional.
Create a persistent Home Assistant container
# Create a persistent folder for Home Assistant configuration
mkdir -p ~/smart-home/homeassistant

# Run Home Assistant as a container
# Adjust the timezone value before using.
docker run -d \
  --name homeassistant \
  --restart unless-stopped \
  -e TZ=America/New_York \
  -v ~/smart-home/homeassistant:/config \
  --network host \
  ghcr.io/home-assistant/home-assistant:stable
The important parts are the mounted configuration folder and the restart policy. The mounted folder keeps Home Assistant’s configuration outside the container. The restart policy tells the container engine to bring it back when the container or host restarts. If your environment does not support the network mode shown here, use the networking mode that matches your container setup and then verify discovery instead of assuming it works.
Keep OrbStack and the container alive
- Enable OrbStack to start when macOS starts, if that option is available in your installed version.
- Use a container restart policy such as unless-stopped for Home Assistant.
- Store configuration in a persistent host folder, not inside the container layer.
- Back up the configuration folder before major updates.
- Write down your container command or compose file so the setup can be recreated without guessing.
Power users tend to trust what they can inspect. That is reasonable, but it cuts both ways. A container stack is only as reliable as its startup chain: macOS boots, OrbStack starts, the container engine becomes available, the Home Assistant container starts, the network mode behaves, and the config volume mounts. Verify each link once, slowly.
Verify the container stack after reboot
# Check whether the Home Assistant container is running
docker ps --filter name=homeassistant

# Check recent logs
docker logs --tail 100 homeassistant- Restart the Mac mini.
- Confirm OrbStack started.
- Run docker ps and confirm the Home Assistant container is up.
- Open Home Assistant from another device on the network.
- Create a harmless test change, then confirm it persists after another container restart.
Where Apple Home still fits
None of these paths removes the need for an Apple Home hub when you want Apple’s own home-hub functions. A HomePod mini, HomePod, or Apple TV still handles that qualifying role in Apple Home.[1] The Mac mini can sit beside that system and do useful work: bridge unsupported devices, host Home Assistant, run local automations, hold dashboards, and give you a place to manage services that should not live on a laptop.
For many homes, the sensible arrangement is not either/or. Apple Home remains the household-friendly front end for basic controls. The Mac mini runs the bridge or automation layer. The Apple TV or HomePod keeps Apple Home’s hub role. That division is less glamorous than pretending one box replaces everything, but it is much easier to troubleshoot when something fails.
Dated verification checklist: August 25, 2026
Before calling the Mac mini M6 your smart-home hub, run the checks that match the role you actually chose.
| Check | Homebridge on macOS | Home Assistant OS in UTM | OrbStack containers |
|---|---|---|---|
| Mac mini stays reachable | Mac remains awake for network access | Mac remains awake for network access | Mac remains awake for network access |
| Service starts after reboot | Homebridge web UI opens without manually starting Terminal | UTM VM starts without a manual rescue step | OrbStack starts and the Home Assistant container is running |
| Smart-home function works | A bridged accessory responds in Apple Home | A Home Assistant device or automation responds | Home Assistant opens and controls a known device |
| Configuration survives restart | Homebridge config and plugins remain present | Home Assistant VM data remains present | Mounted /config folder persists outside the container |
| Role is correctly understood | Mac is a bridge host, not an Apple Home hub | Mac is a VM host for a local hub, not an Apple Home hub | Mac is a container host, not an Apple Home hub |
If you need an Apple Home hub, buy or keep a qualifying Apple device. If you want a capable always-on smart-home host, the Mac mini M6 is a strong choice when the software path matches your skill level and the keep-alive behavior has been tested instead of assumed.